


How to Use Sentiments as a Background (With Video Tutorial)
Hello there, Michelle here with another edition of Terrific Tags with Michelle. Today I have a fun technique to share - using sentiments as a background! This is something I have seen others do but have never done myself as it looked like a lot of work to get the sentiments perfectly lined up!
Well now there is a new embossing folder in town that does the work for you - Mini Sentiments 3D Embossing Folder!

Sentiments as a Background
I started off my tag with the background. I die cut two Terrific Tags Dies from Crafty Necessities: Jet Black Cardstock. One will be saved for later and the other, popped inside the Mini Sentiments 3D Embossing Folder.
Using sentiments for a background is a great way to not only add extra detail to projects but also to add more sentiments! Whilst the background isn't the main focal point, and I am still adding a main sentiment to the project, I still want the recipent to be able to read the background sentiments and that they mean something and coordinate with the main one.

As you can see, the sentiments that can be seen are "you are beautiful", "you are awesome", "hello friend" etc. These make sense with the main sentiment of "just for you". I made sure to cover up the "happy anniversary" and "happy birthday" with my focal point so that these would not be able to read by the recipent as I did not think these made sense for the project.
After embossing, I adhered the other tag that I cut to the back with Glue Tape. This creates a smooth look to the back of the tag if I want to write a personal message on the back.

The Focal Point
For my focal point, I am using the Mix Foliage Layering Die Set. I cut the largest flower, flower center and two of the leaves from the set from white cardstock.
I placed them on my Sticky Mat and added ink blending on top with Mini Blending Brushes.
I used Deep Blue Seas (Sea Breeze, Turquoise, Tide Blue & Starlight) Fresh Dye Inks for the flower petals. I used Golden Sunset (Sunray & Chamomile) Fresh Dye Inks for the flower centers.

Last but not least, I used Whispering Woodland (Limeade & Lime) Fresh Dye Inks for the leaves, followed by Grass Field Fresh Dye Ink to add some contrast.
The leaves were adhered to the tag first, using liquid glue. The flower was assembled and adhered togther using liquid glue and then adhered to the tag with Instant Dimension Foam Tape.

Sentiment + Finishing Touches
For the main sentiment, I stamped the "just for you" from Sentiment Strips 2 Stamp Set onto Crafty Necessities: Jet Black Cardstock using Embossing Ink. I applied Pure White Crisp Embossing Powder and heat set.
It was cut into a strip and adhered to the tag with Instant Dimension Foam Tape.
I threaded twine through the top of the tag and tied in a bow and then embellished the tag with Stellar Sequins - Clear Iridescent to finish.
Video Tutorial:
I hope I have inspired you to try adding sentiments to your backgrounds! You can watch the video tutorial below or over on YouTube.
Thank you so much for stopping by today, I hope you have a wonderful day!

If you haven't had the chance to experience the beauty of the Stampwheel, then you're in luck! For three days only, you can get it for 25% OFF PLUS get a FREE Stampwheel Class (worth $19.99) with Jaycee! Get yours HERE!
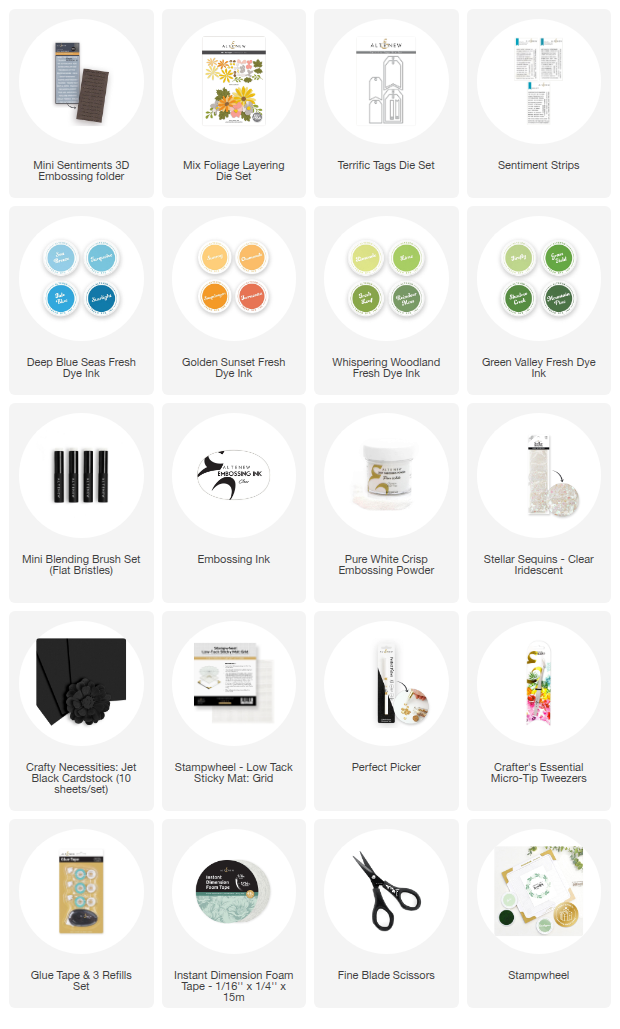
SUPPLY LIST


Leave a comment