How to Use Glitter Relief Paste with Stencils for Sparkling Cards
Key Takeaways
- Ink Blending: Layering colors before applying paste for depth.
Iridescent Finish: Uses clear/prism paste to enhance pastel backgrounds.
Monochromatic Styling: Matching silver paste with grey inks for a sleek look.
Selective Application: Adding paste only to specific stencil areas for subtle highlights.
Mix-and-Match: Combining Glitter and Shimmer pastes on dark cardstock for maximum contrast.
Pro Tip: Ensure paste layers dry completely before applying subsequent stencil layers to avoid smearing.
Hello, hello Altenew fans and friends! It's your Glitter Relief Paste mad girl Erica back on the blog and the YouTube channel with some messy fun and a few cards to boot.
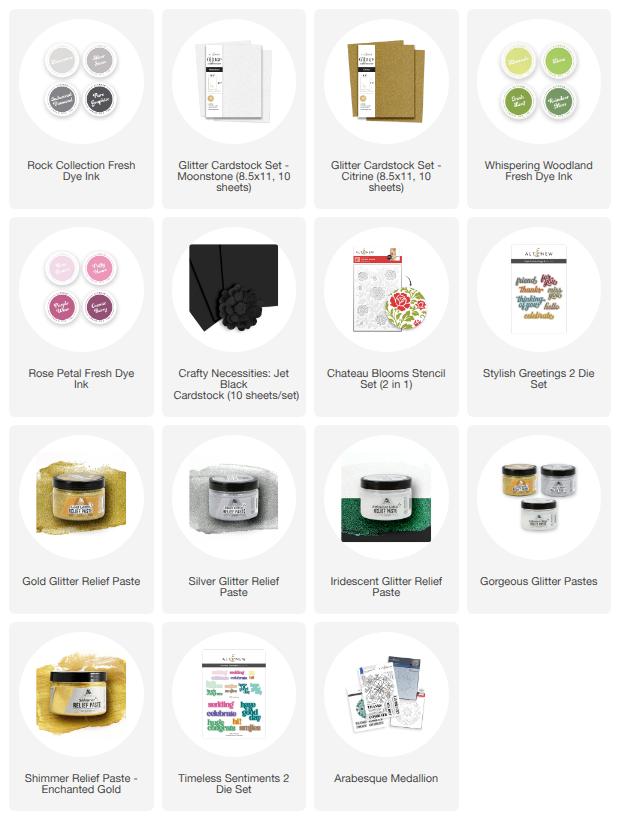
Glitter Relief Paste
Now I should pre-empt this by saying that this is going to be a messy one, and also that I have been waiting for these new Glitter Relief Pastes since Altenew teased us all during a production team meeting with them! I already love the Shimmer Relief Paste and now they come in GLITTER? I barely know how to contain my excitement (nor the mess, LOL) but I'm going to try and stay on point and inspire you a little!
Right, before we get into the Glitter Relief Pastes though, let's have a little chat about the Chateau Blooms Stencil set, shall we? It's a two-stencil set, and I have ideas, oh do I have ideas for this! First off, I am going to ink blend some layers with this set, and some luscious inks, and them we are going to take the ideas up a notch by adding Glitter Relief Pastes. My goal is to use all three of them, and I also want to make sure not a single one is done the same way. I'm sure you guys can imagine many ways to use the Glitter Relief Pastes yourselves, but just in case you need one more, I am more than happy to take one for the team.
In the YouTube video I have skipped over the ink blending part, so we are going to focus all of our time on the Glitter Relief Pastes. I figure I do so much ink blending already, it's better to get to the glittery point. I hope you don't mind. I did remember to take photos of the backgrounds before adding any of the pastes though, and the ink colors I have used for each panel are in the photo too.
Backgrounds before Glitter Relief Pastes
Ink blending is still one of my favorite techniques, I absolutely love it and I think it's so fun to use stencils with paste, and when you can combine all of that? I'm not going to lie, I'm a happy gal.
For the first panel I went relatively pastel color scheme wise, and I think the Glitter Relief Paste Iridescent is perfect for this! I love how it picks up all the colours and prisms from the glitter and takes a simple background and knocks it out of the park. I think this this Glitter Relief Paste might be in the top spot actually.

For the second panel I used greys for a monochromatic look, and I immediately knew it had to be Glitter Relief Paste Silver for this one! In fairness I think the Glitter Relief Paste Gold would have looked good too, but I wanted to stick to a monochromatic theme for this one.

For my third panel I used bright pinks and greens, which I think turned out fabulous. I am quite a fan of the Rose Petal Fresh Dye Ink and Whispering Woodland Fresh Dye Ink Bundle color combo; it's quite a staple in my crafting arsenal. It's so fresh and lovely, and thanks to the four shades of inks you can get pastels or really dark and moody colors from just two ink bundles.

Finishing Touches
If you don't want to add Glitter Relief Paste to your cards, I think this stencil set will be plenty lovely on its own. However, as a top fan of the Shimmer and Glitter Relief Pastes, I had to.

You can obviously add it through the entire stencil layer, as I have done on some, but you can also add it selectively in select areas, for a beautiful little touches, like I did on the pink and green panel.

You can also use both the stencils with the pastes and do the entire thing in Shimmer or Glitter Relief Paste, or mix-n-match them. You would have to wait in between doing each layer, as the paste would need to dry completely before each layer. For the pastel panel I did the second stencil layer with the Iridescent Glitter Relief Paste first and then LOVED it so much I had to do the second stencil layer with the same glitter relief paste too! It turned out amazing and really made the colors pop!

As a little bonus card, I did do exactly that, by the way. Mixing and matching Shimmer Relief Paste and Glitter Relief Paste. I did it on Jet Black Crafty Necessities Colored Cardstock to really make the pastes pop, and POP it does!

Sentiment wise I have mixed and matched those too, these are all from different stamp and die cut sets. One of them being one of my all-time favorite word die cut sets, Timeless Sentiments 2, as well as the brand-new Stylish Greetings 2 word die cuts.

Also, can we talk about how gorgeous the font is for the sentiments in the Arabesque Medallion stamp set? It also has a coordinating die cut, which I love.

When you have a gorgeous background, it can be hard to cover it and all that Glitter Relief Paste up with too big of a sentiment BUT you can do it, I believe in you! I mean, if I can do it, you can too. If you feel like the shadow part of the word sentiment is covering up too much, you can either use vellum for it or skip it all-together.

On the grey card I'm so glad I used the Silver Glitter Relief Paste on the floral stencil layer as I wasn't super happy with the color of the lightest grey ink.


I really hope you have enjoyed this post, and hopefully you get a chance to watch the YouTube video as well. I'd love to hear which one of these cards is your favorite, or which technique with the Glitter Relief Paste you like the best. Or even which one you are trying yourself next!

Thank you so much for hanging out with me today and having some messy fun with the new Glitter Relief Pastes. I think the iridescent one is my favorite, which one is yours, or do you prefer the Shimmer Relief Pastes? Any requests for new colors in the Glitter Relief Paste range? I think a Glitter Relief Paste in black would look amazing myself! (hint hint, Altenew, it is my birthday month after all LOL!)

Ge 40% Off Ultimate Acrylic Marker Duo plus get a FREE Paint-by-Number: Instant Artist - Blossoming Florals (12 Sheets) on orders over $65 from May 12, 2026 at 12:01 AM EDT until May 13, 2026 at 11:59 PM EDT. Shop here: https://altenew.com/products/ultimate-acrylic-marker-duo