


Getting Creative with Illuminated Scenes (+Video Tutorial) | Inspired By A Card with Nathalie
Today, we're diving into a new idea for getting creative with Illuminated Scenes, this new Craft Your Life Project Kit subscription is a very innovative product as it encompasses a matching stamp and stencil, but the die and 3D embossing folder complement the design without necessarily matching the look of the stamp; it is like having two products in one!
Hello crafty friends! It's Nathalie with you today, and I'm excited to share the possibilities of what you can create when combining all these pieces together. Let's take a look at what I have created with this new Craft Your Life Project Kit for my Family 6x8 album.

Start By Bringing A Theme to Your Projects
Let's start getting creative with Illuminated Scenes by setting the theme for the project in place. For this, I am taking advantage of desk design in the stamp set to document part of my creative journey in a simple and colorful way so that it stands out in the project.

It was important to make the stamped image detailed and colorful so that it drives the story of the photos of everyday life feel important. I loved the color and look in the presentation pamphlet of the Craft Your Life Project Kit Illuminated Scenes stamp set and wanted to use some of the colors for my title/journal part of the spread.

Here is how I created the photo side of the spread
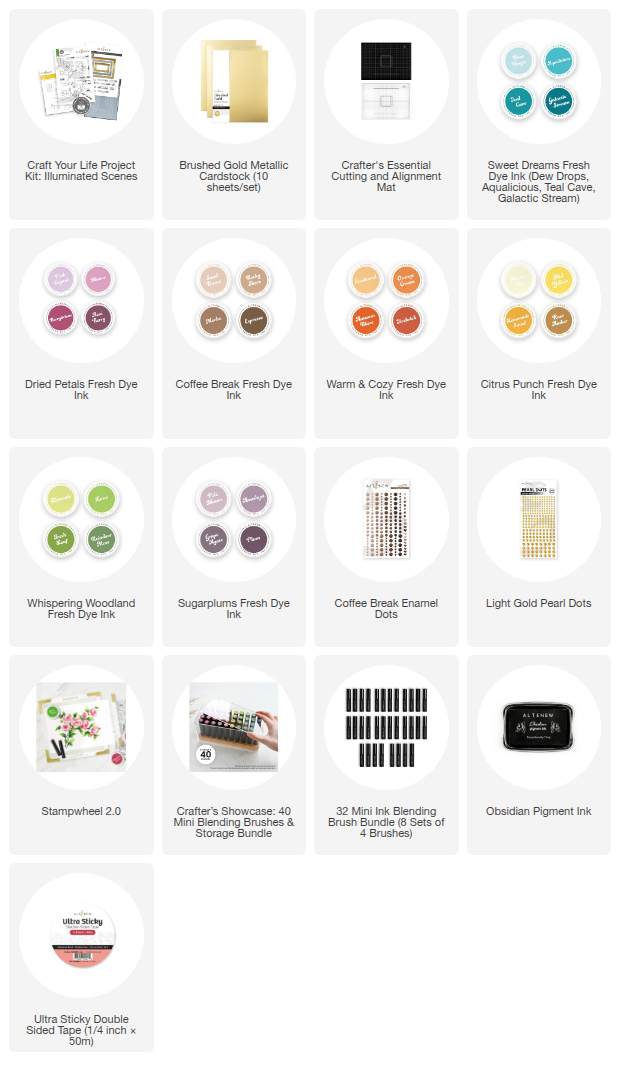
- Trim a 4"x 8" piece of white cardstock for the base.
- Use the Craft Your Life Project Kit Illuminated Scenes stamp and Obsidian Pigment Ink to create the image on the upper half of the white cardstock.
- Using the Layering Stencil set in the kit, start adding color to the image using ink blending tools.
- First use Dew Drops Fresh Dye ink, then Aqualicious Fresh Dye Ink ad then finish with Teal Cave Fresh Dye ink to give the area an ombre effect.
- Start with the lightest color ink at the top of the page, once you have completed about half the impression, shift the stencil to the bottom of the page, and continue the design with the darker ink.
- Use Lemonade Stand Fresh Dye Ink to color the next area in the stencil.
- Color the next area of the stencil with Mocha Fresh Dye Ink.
- Next use Grape Agate Fresh Dye Ink to color the small details in the next stencil area.
- Use Mauve Fresh Dye Ink and Berrylicious Fresh Dye Ink to bring a soft ombre effect to the next area of the stencil.
- Use Fresh Leaf Fresh Dye Ink to color the next area of the stencil.
- Finally use Sunkissed Fresh Dye Ink to color the last section of the stencil.
- Add title below the stamped area, then adhere Satin Gold Pearls next to title.
Getting Creative with Illuminated Scenes and Photos.

The frames in the Craft Your Life Project Kit are a great way to get creative with Illuminated Scenes while creating a focal point to your projects,
Framing Your Projects with Illuminated Scenes

The idea of using the frames in the Craft Your Life Project kit Die and Embossing folder seals as a means of adding a focal point in the spread, and also getting creative with Illuminated Scenes.
- Usin the frame die in the Craft Your Life Project Kit cut two of the shapes from Brushed Gold Metallic Cardstock.
- Select the frame that fits the photos and using the 3D Embossing folder in the kit add the beveled look to the die cut pieces.
- Adhere the frames to the base.
- Select a line at least 1" higher than the frame and select points to create the hanging twine to the frames.
- Add metallic thread behind the frame and adhere to the point on the line. secure the thread with glue and a enamel dot from Coffee Break Enamel Dots.

- To finish the spread select sentiment stickers and adhere them to the frames.
- Add a few Satin Gold Pearls around the frames to complete the spread
Getting Creative with Illuminated Scenes - Process Video-
Watch the video tutorial below to learn more about this technique, and check how you can take wax seals to a new level!
I hope the video has inspired you to getting creative with Illuminated Scenes for a project of your own. There is so much you can create with these new Craft Your Life Project Kit. I cannot wait to see your projects.
XO!

Lots of amazing, new crafting supplies are waiting for you with Altenew's October 2025 Release! Get your hands on the Craft Your Life Project Kit: Illuminated Scenes and other beautiful crafty goodies to make your next masterpiece! Shop HERE!


Leave a comment