Double Stamping a Mother’s Day Card with the One Go: Friendship Flowers Suite
Key Takeaways
The One Go: Friendship Flowers suite streamlines the entire floral‑building process, allowing the stamping, stenciling, and die cutting in one easy pass — perfect for achieving a cohesive, light‑and‑airy look without extra steps.
Double stamping with the Stampwheel creates crisp, high‑contrast florals, and keeping the panel in place during stenciling ensures perfect alignment when adding that final Obsidian impression.
The included background stencil adds effortless depth and tone‑on‑tone interest, especially when blended in sky colored ink to complement the soft spring florals.
Stamping the Mother’s Day sentiments from the Wholehearted Sentiments set pair beautifully with this design, especially with the Antique Gold embossing and coordinating dies that make placement clean, polished, and intentional.
Hello, crafty friends! Mother’s Day is just around the corner, and today I’m excited to share a fresh installment of Light & Airy with Lea — a series where I explore how thoughtful color balance, soft tones, and intentional design choices can create cards that feel open, breezy, and beautifully elevated. This week, I’m working with the One Go: Friendship Flowers product suite, and I can’t wait to walk you through the stamping process of building this floral‑forward Mother’s Day design.

If you’ve never worked with a One-Go set before, you’re in for a treat. One of my favorite things about this suite is how all the floral clusters are merged together on a single stamp, stencil, and die, making it incredibly easy to create a full set of coordinated elements in one pass. It’s efficient, beginner‑friendly for stamping, and perfect for those of us who love a cohesive floral moment without the fuss of lining up multiple pieces.
This card also features one of my go‑to techniques for crisp, dimensional florals: double stamping with the Stampwheel. It’s a method I return to again and again because it delivers such a polished, professional finish — and the Stampwheel makes it nearly foolproof.
Let’s dive in!

Stamping the Florals: Why I Started with Gray
To begin, I placed a panel of white cardstock onto the Stampwheel sticky mat, stamping the entire One Go: Friendship Flowers image in Coastal Fog ink. Starting with gray instead of black is one of my favorite tricks for achieving a light and airy look. It gives you all the definition you need for stenciling without locking you into a harsh outline too early in the process.
Because the One Go suite keeps all the floral clusters together, this first impression gives you a beautifully unified base to work from. And since the panel stays in the Stampwheel the entire time, you never have to worry about losing alignment later — which is essential for the double stamping technique we’ll get to shortly.

Ink Blending with the Stencils after Stamping in Gray
After stamping the gray impression, I moved straight into ink blending using the coordinating One-Go: Friendship Flowers stencils. One of the things I love about the Stampwheel is that there’s plenty of room to work with your stencils without removing the cardstock panel. This is key — the panel must stay in place for the double stamping later.
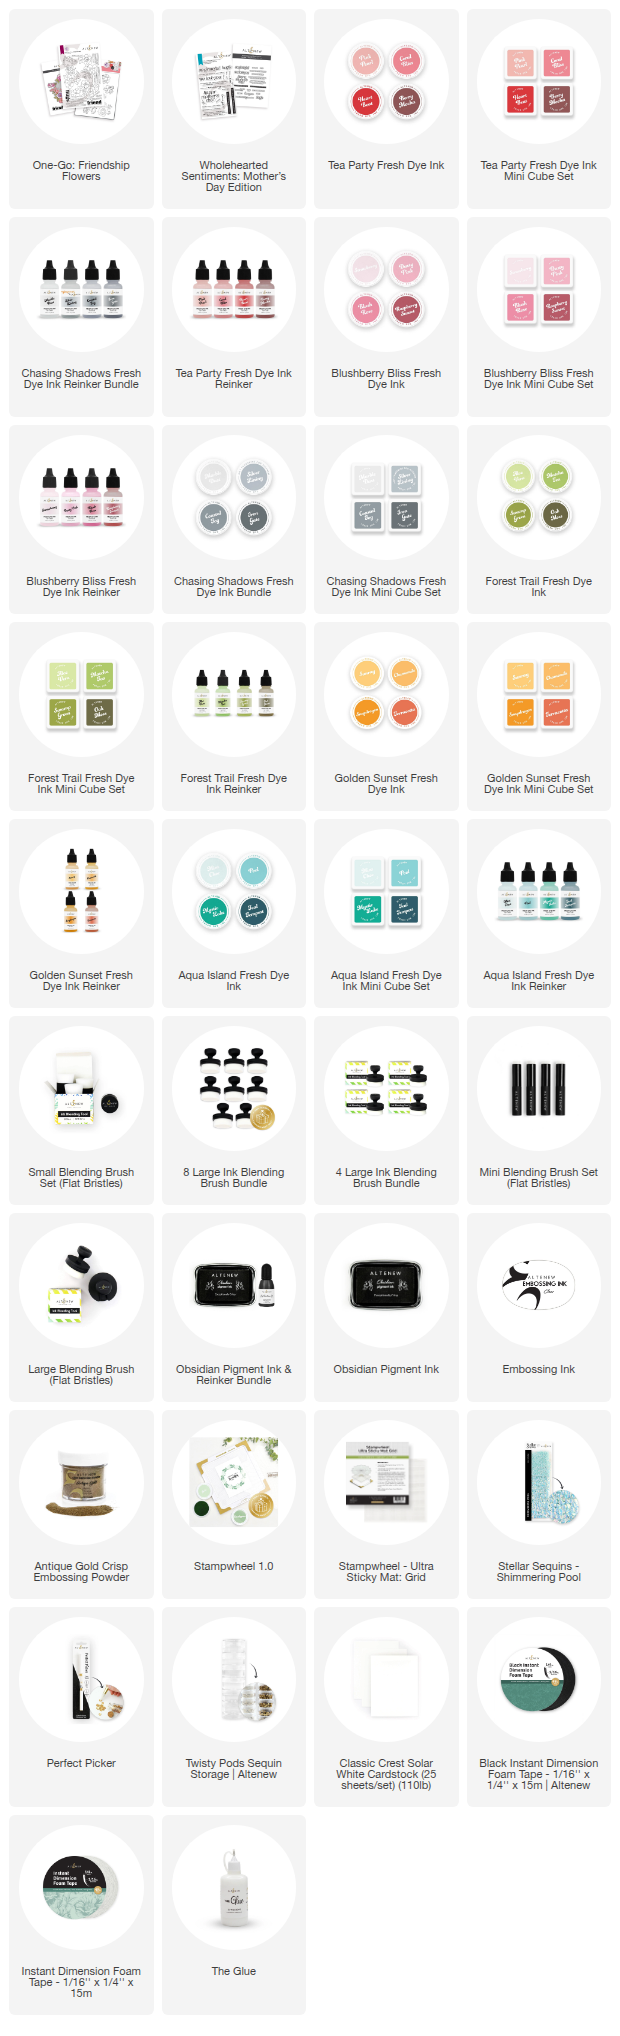
For this project, I leaned into a soft, spring‑inspired palette: Pink Pearl, Coral Bliss and Raspberry Sunset for the blooms, Chamomile and Snapdragon for the middles, with Aloe Vera and Matcha Tea for the leaves. These tones pair beautifully with the Mother’s Day theme and help reinforce that signature airy feel.
As I blended, I kept the pressure light and the transitions soft. The One Go stencils make it easy to build depth gradually, and because the floral clusters are grouped, the entire process feels intuitive and streamlined.

Why Double Stamping Makes Such a Difference
After the ink blending was complete, it was time for the magic step: double stamping with Obsidian black ink.
There are two big reasons I always save stamping the black impression for last:
Obsidian is a pigment‑based ink, which means it stays wet longer. If I had stamped in black first and then tried to ink blend over it, the pigment would have smeared.
Ink blending can soften or “muddy” the original stamped lines. Re- stamping in black at the end restores that crisp, clean definition and makes the florals truly pop.
I know double stamping can feel intimidating — the fear of misalignment is real, and no one wants that accidental “halo” effect. But this is where the Stampwheel shines. As long as you keep your panel on the sticky mat and avoid shifting it between steps, the Stampwheel will place that second impression stamping perfectly.
And when that crisp black outline lands exactly where it should? It’s such a satisfying moment.

A Background Stencil That Steals the Show
One of the delightful surprises in this product suite is that the stencil set includes a background stencil as well. I love when a set gives you everything you need to build a cohesive card from start to finish.
For the background, I ink blended Pool ink onto an A2 white cardstock panel. This soft aqua tone adds just enough color to ground the florals without overwhelming them. It also creates a beautiful tone‑on‑tone effect once the flowers are arranged around the edges.
Because the background stencil coordinates with the double stamping floral clusters, it makes placement incredibly intuitive. When it’s time to assemble the card, everything just clicks into place.

While the One Go: Friendship Flowers set includes some wonderful sentiments, I wanted this card to be distinctly Mother’s Day themed. So, I reached for the Wholehearted Sentiments: Mother’s Day Edition, which has quickly become a favorite in my stash.
After stamping with embossing ink, I heat embossed the main “Happy Mother’s Day” sentiment in Antique Gold, giving it a warm, elegant shine that pairs beautifully with the soft florals. Then I stamped the secondary sentiment in black for contrast.
And I have to say — my type‑A heart is so happy that every single sentiment in this set has a coordinating die. If you love clean, intentional sentiment placement as much as I do, this set is absolutely worth adding to your collection.
Check Out The Full One Go: Friendship Flowers Double Stamping Tutorial Here!

With all the pieces ready, it was time to bring everything together. I arranged the floral clusters around the edges of the Pool‑blended background, letting some pieces overlap the edges for a natural, organic feel. Once I was happy with the placement, I adhered them with Instant Dimension Foam Tape to give the card depth and lift.
After trimming away the excess, I added the sentiments — also popped up on foam tape — to create a strong focal point.
For the finishing touch, I sprinkled on a few Shimmering Pool Stellar Sequins. They add just the right amount of sparkle without distracting from the florals. I love how the tone‑on‑tone shimmer enhances the background while keeping the overall design soft and cohesive.
This card was such a joy to create, and it perfectly captures what I love about the Light & Airy with Lea series: thoughtful color choices, intentional layering, and techniques that elevate your designs without adding unnecessary complexity.
I hope this project inspires you to try double stamping, explore light‑and‑dark balance in your own designs, and embrace the ease of the One Go system. Whether you’re crafting for Mother’s Day or simply celebrating the beauty of spring florals, this suite offers endless possibilities.
Wishing you a creative, stamping filled day…and happy crafting!

Get 40% off Creative Cuts: Fresh Pears Layering Die Set from April 14, 2026 at 12:01 AM EDT until April 15, 2026 at 11:59 PM EDT. Shop here: https://altenew.com/products/creative-cuts-fresh-pears-layering-die-set
One Go: Friendship Flowers Double StampingCard Supplies