


Die-Cut Embellishments | Altenew Educators "Creative Accents" Video Hop + Giveaway

Welcome to the Altenew Educators’ Video Hop. The theme of this hop is "Creative Accents", and today we are all sharing projects that highlight unique and creative ways to use embellishments in cardmaking.

For my project, the colorful floral arrangement forms the main design, while die-cut button accents take on the role of embellishments. These small die-cuts add texture, sparkle, and visual interest, showing how embellishments can enhance a design without overpowering it.
Be sure to hop along on the Altenew YouTube channel and leave a comment on each video to enter the giveaway. There are prizes up for grabs, so don’t forget to participate while you enjoy all the inspiration.

VIDEO: Glitter Die-Cut Embellishments That Elevate a Card
Watch the video tutorial below or CLICK HERE to learn more about this cardmaking technique! Or read step-by-step instructions after the video.

Prepare the Watercolor Panel
- Start with a panel of 5x7 Hot Pressed Watercolor Cardstock. This smooth surface is ideal for soft blends and detailed texture.
- Using a number 10 round brush, gently apply water to the center of the panel. Starting in the middle helps control how the colors flow and makes it easier to balance multiple shades.
- Apply watercolor in pink, yellow, and teal from the Artists' Watercolor 24 Pan Set, allowing the colors to softly blend into one another. When adding the second and third colors, work from the edges toward the center to create smooth transitions.
If you prefer ink blending, you can achieve a similar look using coordinating dye inks. - If two colors don’t blend as smoothly as expected, adding a small amount of a bridging color, such as purple, can help everything flow together naturally.
- Once the panel looks the way you like, fully dry it using a heat tool.

Die Cut the Floral Arrangement and Add Texture
- Die cut the floral arrangement using the floral die from the Craft Your Life Project Kit: Stitched with Love. This is a one-go die, which means all the elements are cut in a single pass without worrying about alignment.
- Place the die-cut floral pieces into the coordinating 3D embossing folder. Position the images face down in the recessed areas to keep them in place during embossing.
- Carefully run the folder through your die cutting machine, then remove the pieces to reveal a beautiful stitched or embroidered texture.
Tip: If you would like more leaves, you can reuse the remaining areas of the watercolor panel and die cut again as needed.

Create the Button Die-Cut Embellishments
- Arrange the die-cut florals and leaves on the card front until you are happy with the composition. Use Press n Seal to pick up the arrangement while keeping everything in place.
- Adhere the flowers using foam tape in varying heights to add dimension. Glue the leaves flat to the card base so the florals remain the main focal point.
- Once the button embellishments are in place, glue the remaining die-cuts. Finish the card by adding the sentiment and a few sparkling sequins for extra shine.

Assemble the Card
- Die cut button shapes from Silver Glitter Cardstock from the Milky Way Cardstock Set. These button die-cuts will act as embellishments on the card front, adding sparkle and texture while supporting the floral design.
- Save the small circular pieces from the button holes. They make perfect mini accents for flower centers and scattered details around the buttons.
- Finish the card by adhering the sentiment stamped in Obsidian Pigment Ink and adding Dazzling Diamond Sequins for more sparkle.
This card is full of color, texture, and thoughtful details. Using die-cut button accents as embellishments is a fun way to add interest while keeping the main design clean and balanced.
Giveaway Prizes

$120 in total prizes! Altenew is giving away a $20 gift certificate to 3 lucky winners and a $15 gift certificate to 4 winners! Please leave a comment on the Altenew video and/or each designer’s YouTube video on the hop list by 02/22/2026 for a chance to win.
Altenew will draw 7 random winners from the comments left on each hop stop and announce the winners on the Altenew Winners Page on 02/23/2026.
Video Hop List
Here's a list of the amazing designers joining today's Creative Accents video hop with their must-watch video tutorials!
***IMPORTANT! Please leave a comment on each video tutorial on the hop list below – NOT on this post – to be entered into the giveaway.
Altenew <---(start here)
Thanks so much for stopping by! Happy crafting!
SUPPLY LIST
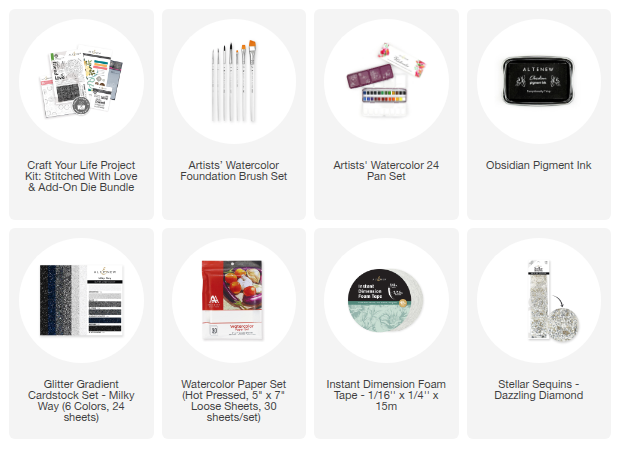


Leave a comment