


Create a Gorgeous Watercolor Die Cut Card with the New Deep Muse
Hello from Scotland! This is Bibi Cameron, and today I’m sharing an easy die-cut card that highlights a few favorites from the Altenew December 2025 Release, plus the gorgeous new Watercolor Compact – Deep Muse (these paints are such a dreamy mood!).

Card Recipe
DIES, STAMPS, EMBOSSING:
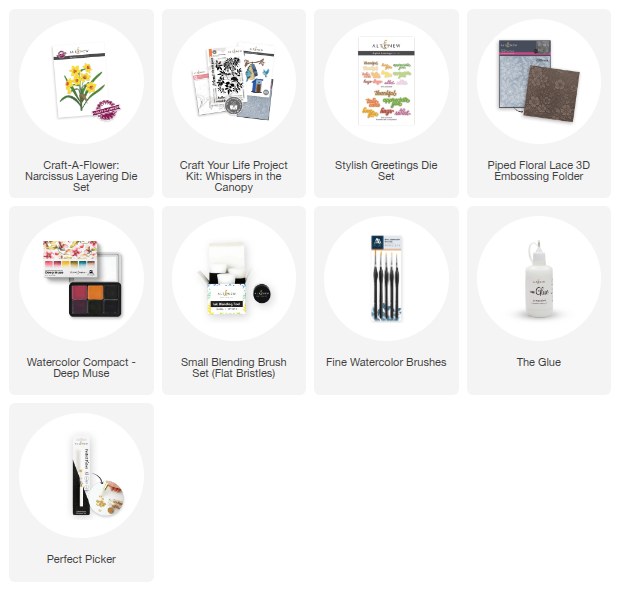
- Craft-A-Flower: Narcissus Layering Die Set.
- Craft Your Life Project Kit: Whispers in the Canopy
- Piped Floral Lace 3D Embossing Folder
- Stylish Greetings Die Set
COLORING TOOLS

Inspired by nature and rich emotion, Deep Muse is a moody watercolor palette designed to add depth and atmosphere to your projects.
Created in collaboration with Sarah Simon (The Mint Gardener), this six-color set blends earthy browns, expressive violets, and calming greens and blues, perfect for dramatic florals and layered die-cut designs.
Each color offers excellent lightfastness, strong tinting power, and a transparent to semi-transparent finish that layers beautifully.
The detachable metal half pans are held securely in a magnetic case, making this compact both practical and artist friendly.
Deep Muse features: six curated colors, pure pigments, exceptional lightfastness, and a non-toxic, artist-grade formula.
Layered Narcissus Thank You Card with Deep Muse Watercolors

Step-by-step
First: Paint your papers
For this 5-1/2" x 5-1/2" card, I created my own colored cardstock by painting several sheets of thin 80gsm watercolor paper with a light wash using Watercolor Compact – Deep Muse and a Small Blending Brush Set.
I applied each color on a separate sheet, keeping the washes loose using very little water (Damp Brush)
Then: Let everything dry
I let the paper air dry completely (this is important, so the dies cut cleanly and you don’t tear the paper).
Afterward: Die Cut the Narcissus pieces
Once dry, I die cut the flower and foliage pieces using the Craft-A-Flower: Narcissus Layering Die Set.
Meanwhile: Assemble the Blooms
I layered and glued each petal piece to build the narcissus flowers. This process is easy and quick, as the set features a key-hole system that allows you to identify which pieces go together and in which order.

Additionally: Add more depth with paint
After assembling, I went back in and added more washes of color to deepen shadows and intensify color using Fine Watercolor Brushes—this step really brings the layers to life!
Also: Create the bird accents
I die cut two little birds using dies from the Craft Your Life Project Kit: Whispers in the Canopy and tucked them into the arrangement as a sweet extra detail.

Finally: Emboss the background panel
To finish the card front, I embossed a panel of watercolor paper using the Piped Floral Lace 3D Embossing Folder for a soft, elegant textured background.
Lastly: Add the sentiment
For the greeting, I used the Stylish Greetings Die Set and die cut the word from one of my painted sheets (I used the Still Waters color from Deep Muse), then popped it up with foam tape for a clean finishing touch.

Get a FREE Stampwheel - SlimGrip Sticky Mat (Black) (worth $7.99) on orders over $69 from January 13, 2026 at 12:01 AM EST until January 15, 2026 at 11:59 PM EST. Shop here: https://altenew.com/collections/all-altenew-products (The free gift will be automatically added to eligible orders—while supplies last.)
Watch The Cardmaking Process
Let's dive into a world of creativity with the new Watercolor Compact – Deep Muse
SUPPLY LIST


Leave a comment