Creative Ways to Add Texture to Die Cuts
by Mindy Eggen April 24, 2026
KEY TAKEAWAYS
Pattern Stamping: Stamp directly onto die-cut shapes (using a design like a stitched pattern) to add visual interest and a "fabric-like" look without adding physical bulk.
Layered Ink Blending: Start with a light base layer of ink, then use mini brushes to concentrate darker shades toward the center of the die cut. This creates depth while keeping the stamped texture visible on the edges.
Subtle Backgrounds: Use a rubber brayer to apply light ink for a soft background that doesn't compete with the focal die cuts.
Mixed Media Accents: Enhance the overall texture of the project by using 3D paste for dimension and watercolor splatters for movement and contrast.
Strategic Adhesion: Use a mix of foam tape (for the background panel) and liquid glue (for the die cuts) to create varying levels of dimension on the final card.
Hello, it’s Mindy! Today I’m sharing a card where I focused on adding soft texture to die cut flowers using pattern stamping and light ink blending. This is such a simple technique, but it really makes your die cuts feel more detailed and dimensional without adding bulk.

Adding Color and Texture to the Die Cut Flowers
I started with white cardstock and added a light wash of color to the flower petals using Peachy Glow from the Sun-Kissed Delight Fresh Dye Ink collection and a small blending brush. Beginning with a soft layer of color gives the petals a base that still allows the stamped texture to stand out.
Next, I added texture using the stamp from the Craft Your Life Project Kit: Stitched with Love, stamping the design directly over the die cut flowers with Golden Honeycomb ink. Stamping a pattern over die cuts works so well because it instantly adds visual interest and gives the petals a soft fabric-like look.

To build depth, I went back in with Amber Blaze and Melted Butterscotch using mini and micro blending brushes. I concentrated the darker shades toward the center of the flowers, leaving the outer edges lighter so the stamped design remained visible. This layering of color helps enhance the texture while keeping the flowers soft and dimensional.
For the leaves and stems, I added color using inks from the Tropical Forest Fresh Dye Ink collection, then assembled the flowers following the layering guide.

Creating A Soft Background
To complement the flowers, I created a background using Dew Drops Ink and a rubber brayer. I applied the ink lightly so the color stayed subtle and didn’t compete with the focal point.
For added interest and texture, I applied 3D Crystal Effects Paste to parts of the background and splattered everything with black watercolor for a bit of contrast and movement.
Once the panel was complete, I trimmed it down to 3 3/4" x 5" and added it to a white card base using foam tape. The die cut flowers were adhered with liquid glue, and I finished the card with a sentiment from the Wholehearted Sentiments Mother’s Day Edition stamp set.

Why This Works
Stamping texture directly onto die cut flowers is a great way to add depth without adding extra layers. The combination of soft ink blending and pattern stamping creates dimension while still keeping the design light and elegant. By concentrating darker color toward the centers and leaving the edges lighter, the stamped detail stays visible and helps the flowers feel more realistic and finished.
Thank you so much for stopping by today! I hope this project inspires you to try stamping patterns over your die cuts to add soft texture and extra detail to your designs.
Be sure to check out the video below where I walk through each step of adding color, stamping texture, and finishing the card.


Enjoy FREE U.S. Shipping on orders over $49 from April 24, 2026 at 12:01 AM EDT until April 26, 2026 at 11:59 PM EDT. Shop here: https://altenew.com/collections/all-the-paper-crafting-supplies-you-need
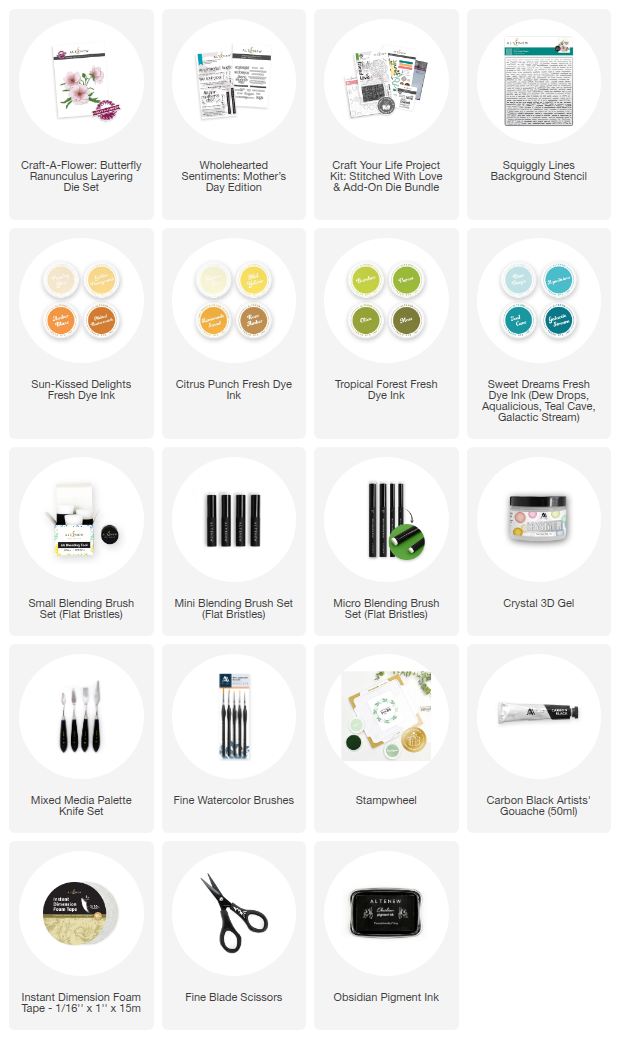
SUPPLIES