Creating a Denim-Inspired Sewing Card With Realistic Texture
Hello friends!
Svitlana is here.
Today I'm sharing a card made using the Craft Your Life Project Kit: Stitch With Love, and it’s pretty much the only product I used to bring this design together.
The driving idea behind this card was the fabric background stamp included in the kit. Every time I see a stamp, die, or press plate with a textile-inspired pattern, I instantly think about creating something that looks like linen, burlap, or jeans.

For this card, I decided to go all in on a denim theme and try to replicate the look of real denim fabric. My goal was to make the background feel as authentic as possible, both in color and texture, and then build the rest of the design around that concept.
I naturally gravitate toward creating realistic details in my projects, so from the very beginning, I focused on making this card look as authentic as possible using only paper and ink.
Building a Denim Fabric Background
The first step was creating the denim fabric background. I started with a Crafty Necessities: Tide Blue Cardstock panel and blended Sapphire Fresh Dye Ink onto the surface.
I applied the ink heavily around the edges and used a much lighter hand toward the center. This created a subtle gradient that mimics how denim often fades and wears naturally. The lighter middle area also helped leave room for texture to show through in the next step.

To add realistic fabric detail, I stamped the fabric background stamp from the Craft Your Life Project Kit: Stitch With Love using the same Sapphire Fresh Dye Ink. Because the ink was the same color, the pattern blended softly into the darker edges and became more visible only in the lighter center area.
This effect was exactly what I was hoping for — understated texture that looks like woven denim threads rather than a bold stamped pattern.
Adding Dimension With a Faux Cut Fabric Effect
To push the denim illusion even further, I wanted the background to look like it had actually been cut with scissors. I carefully slit the panel and folded the edges in both directions, creating a subtle flap effect that resembles how real fabric behaves when it’s cut.
It’s a small detail, but it adds a lot of realism and makes the denim background feel more tactile and dimensional.

Stitched Details for Extra Denim Texture
To reinforce the fabric theme, I heat-embossed stitched lines along the top and bottom edges of the panel using a stamp from the Craft Your Life Project Kit: Stitch With Love. I used white embossing powder so the stitching would pop against the deep blue denim background, just like contrast stitching on jeans.
Creating a Layered Denim Cut-Away Look
To make the slit background look more intentional, I added a second panel underneath it. I blended Ginger Root Fresh Dye Ink onto a white cardstock panel and tucked it behind the denim layer so it peeks through the cut.
This added a warm contrast and helped the denim panel stand out even more. It also gives the impression that the denim fabric is layered over another textile surface.
Die Cutting Realistic Sewing Elements
All of the dimensional elements for this card were created using the Stitch With Love Die Set from the kit.
I die cut the scissors from Brushed Silver and Brushed Gold Metallic Cardstock to give them a realistic metal finish. The needles and pins were cut from Brushed Silver Metallic Cardstock as well, while the buttons were die cut from Crafty Necessities: Sand Dunes and Milk Chocolate Cardstock.
To make the buttons look more realistic, I die cut each one three times and adhered the layers together for added thickness. This small step makes a big difference and gives the buttons a true dimensional feel.
Adding Thread and Small Details
I also die cut and assembled the stitching twine elements from Crafty Necessities: Sand Dunes, Milk Chocolate, and white cardstock.
For the tiny details — like the thread inserted into the needle and the pin tops — I used Crafty Necessities: Caribbean Sky Cardstock. These subtle pops of blue tie the small elements back into the denim color palette and keep the design cohesive.
Assembling the Denim-Themed Card Design
Once all the elements were ready, I started assembling the card.
The first thing I did was insert the scissors into the slit in the denim panel so it looks like they’re actively cutting the fabric. This detail really brings the whole concept together and reinforces the denim illusion.
After that, I adhered the remaining elements — the buttons, pins, needles, and twine — onto the card front, arranging them in a loose, natural composition that feels like a work-in-progress sewing scene.

Finishing Touches and Sentiment
For the sentiment, I heat-embossed “you’re sew amazing” in white onto Crafty Necessities: Milk Chocolate Cardstock and cut it out using the matching die. I popped it up with black adhesive foam to give it a bit of lift and make it stand out from the denim background.
I intentionally skipped my usual finishing touches like ink splatters or enamel dots. With all the buttons and textured elements already in place, the design felt complete. I also wanted to preserve the realistic denim look without adding anything that might distract from the fabric illusion
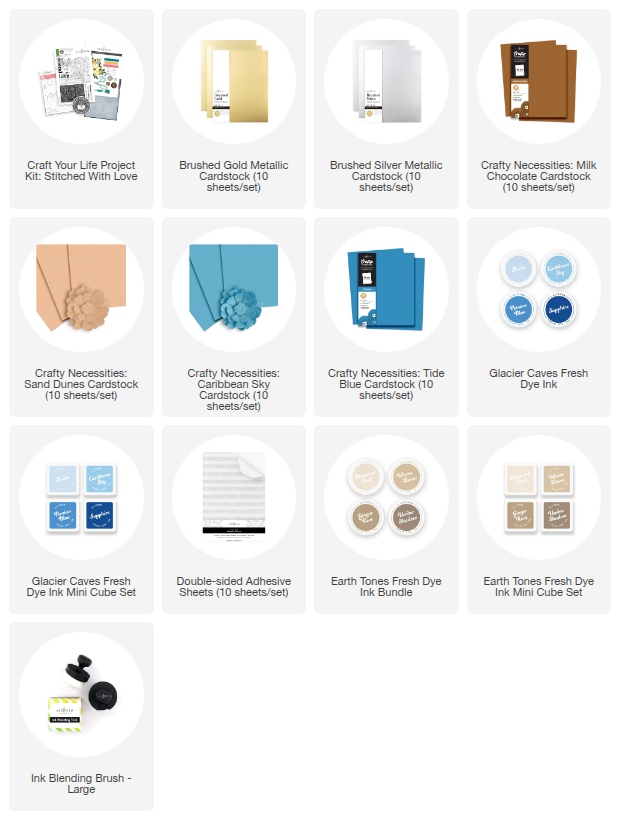
SUPPLY LIST