


Coloured Cardstock is da BOMB!
Hi Altenew fans and friends! It's your colour loving gal Erica back on the blog and YouTube today with an ode to Crafty Necessities Colored Cardstock There is a fantastic offer on currently, where you can take 20% off select coloured cardstock and envelopes, but don't delay if this is something you have on your wish list as today, Feb 26th, is the last day of the promotion!

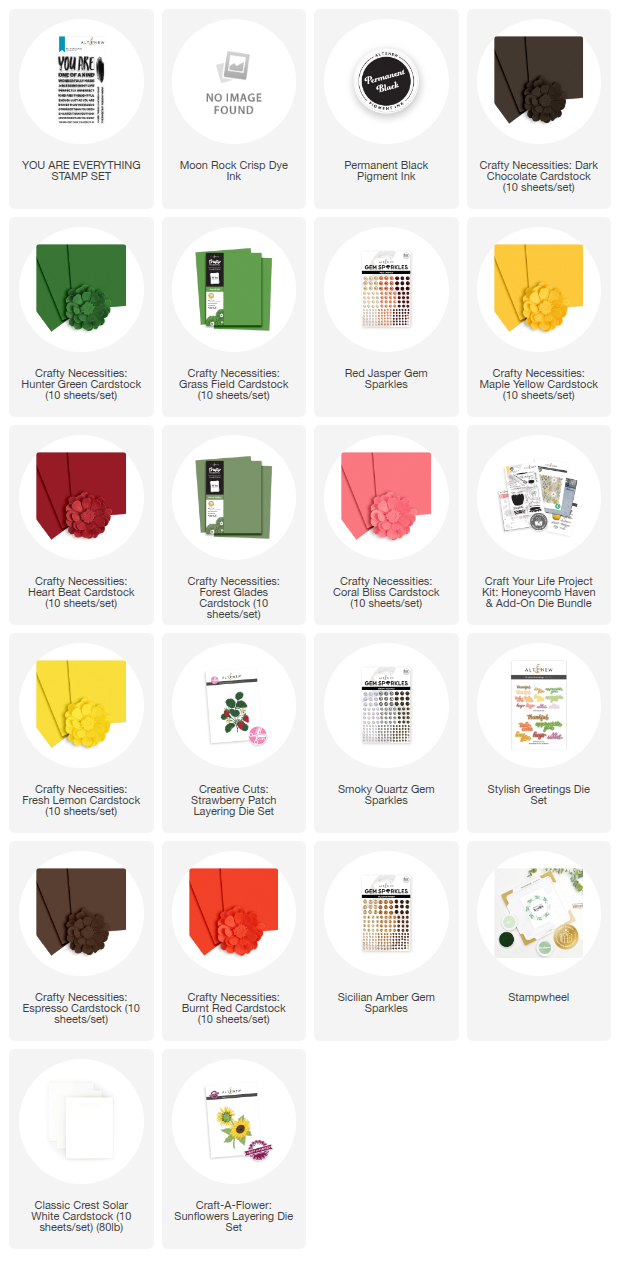
What better way to showcase this gorgeous cardstock than using some fabulous diecut sets? I decided to use the Craft-A-Flower: Sunflower Layering dies as well as the Strawberry Patch Layering Die Set. The reason I picked the strawberry diecut set is because I am trying to grow my own strawberries, from seeds.

Fingers crossed I will have PLENTY of yummy strawberries to munch on in a few months!
Colored Cardstock extravagaza
However I digress, I am not here to talk about growing my own herbs and vegetables (although I do not need much prompting to do so) I am here to talk about the colored cardstock. For the Strawberry Patch Layering Die Set I picked out cardstock in Heart Beat, Coral Bliss, Grass Field and Hunter Green. The packaging suggested Coral Red cardstock, which I do not have... (insert sad face)

I will say that while I picked out Coral Bliss cardstock, but I think perhaps it is a touch too pink. Maybe Burnt Red would have been a better choice, but oh well. That's something to try next time. The strawberries still came out very cute.

I used some lush green cardstock for the greenery, which while I am typing this out sounds bonkers... What an idea, right? Green cardstock for the greenery?

For the Craft-A-Flower Sunflower Layering dies I consulted the suggestions on the packaging. Unfortunately (poor meeeeeee, LOL) I do not have the entire range of Crafty Necessities Colored Cardstock, BUT I did have all the cardstocks suggested for the sunflowers!

Thanks to the packaging and numbered diecuts, it's so easy to cut out the required pieces and it's also equally easy to get a bit carried away. Don't tell me I didn't warn you, ha!

Thanks to the Key Hole System of the Craft-A-Flower dies it is super easy to layer these flowers up, and get perfect results every time. I am not kidding or exaggerating. Every time. This is the perfect product range to introduce new victims... erm, I mean 'enthusiasts' to the wonderful world of crafting and card making.

I had actually only planned on making one card today, but the crafting mojo had other plans. One turned into two, which turned into three. It may have something to do with the fact that while I had the cardstock, the die cuts and my diecutting machine out, I may (read definitely did) have cut out more than necessary.
As I mentioned, my plan was originally to just make one card, but I quickly realised that there were more than enough diecut pieces to make two... and then still enough left to make a third. So here we are. Hi, it's me, I'm the problem, hi.
Sentiments for the win
I have a few absolute top faves when it comes to sentiments sets, and You Are Everything stamp and diecut set is amongst them. It's a great set, and I absolutely love it! It has a coordinating diecut too. I have stamped up the 'You Are' in Permanent Black Ink on white cardstock. This was then diecut out and another two layers were also cut out, and layered up.

On this card I decided to use the Sicilian Amber Gem Sparkles, and went to town with them! I really, really like how this card turned out. The gorgeous sunflowers look so lovely with all those lush colours of cardstock.

Let's just have a quick little closeup look of this card. The gem sparkles really do finish it off with pizzazz!

Mix'n'Matching
For the strawberry card I have left so much white space and I'm pretty proud of myself! White space is not usually my friend, and I want to fill it with something. Whether it is by adding texture, ink blending or extra sparkle.

As strawberries are some of my favourite berries, I wanted a sentiment that played into that, or a good pun. I found what I was looking for in the Stylish Greetings die cut set. I went with 'so sweet' and this was cut out of the same coloured cardstock as the strawberries: Heart Beat and Coral Bliss.

On this card I wanted some reddish Gem Sparkles and the Red Jasper Gem Sparkles were just the thing! I have used the middle shade and the darkest shade, and I have added quite a few. I was really struggling to leave the space at the top white, but after slapping my own hand away a couple of time, I put the card away.
The final card was a total mix'n'match of the leftover Sunflower Layering die cuts and Strawberry Patch diecuts, and it's a very full card! I could perhaps have spread these out over two more cards, instead of cramming it all in on one but again, here we are! In all honesty, I have enough pieces cut out of the cardstock that I could easily make a fourth card too...

Now, you would be completely reasonable to think that this card has so much going on already, pops of colours from the cardstock, interest with the sunflowers, the strawberries and that darling sentiment from the Project Kit Honeycomb Haven, that it doesn't seen anything else. That's completely valid. Sounds good. Sure. Ok.. but, and this is quite a big 'but', it's me. Hi, I'm Erica and I'm addicted to bling, and cardstock. Yep. You see where this might be going? Oh, you can see Bling Town from there already? Cool, let's go!

It's not a crazy amount of Smoky Quartz Gem Sparkles. It's quite a normal-ish amount for me. In fairness, I could have added more, like way more, but I like to keep you all guessing!
The three finished cards all have yummy coloured cardstock, lots of layers and texture, sweet sentiments and luscious bling. If you get a chance to watch the video over on YouTube you will get to see more sparkly closeups and listen to my creatively adorable jibber-jabber (at least that's what I hope it sounds like) but for now, I am all done and will let you shop the fab Crafty Necessities Colored Cardstock promo in peace.


Leave a comment