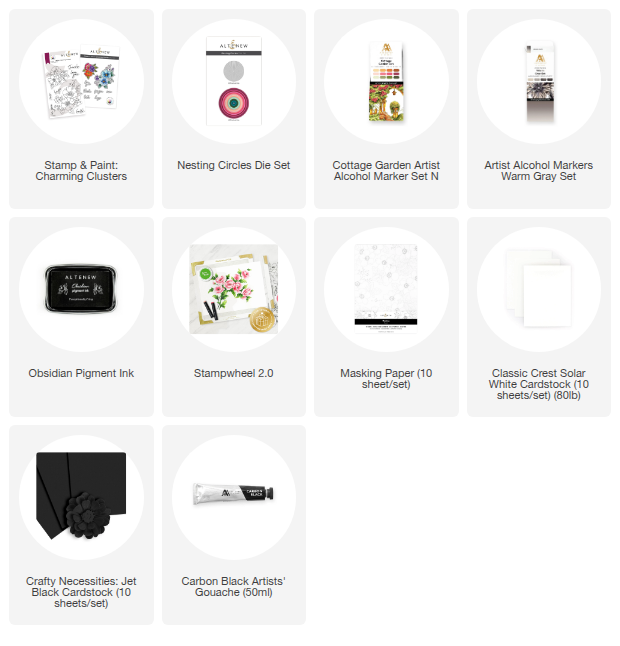
Charming Clusters Two Ways with Artist Alcohol Markers
Welcome back to Creative Coloring with Erum. Today I am taking one floral stamp and turning it into two completely different cards. I’ll be working with the Charming Clusters Stamp Set and coloring it using Artist Alcohol Markers in the easiest possible way.

VIDEO: Coloring Charming Clusters Two Ways
Watch the video tutorial below or CLICK HERE to learn more about this cardmaking technique! Or read step-by-step instructions after the video.
If you are someone who struggles with alcohol markers, this is for you. We are not doing complicated blending today. We are working dark to light, adding color in simple passes, and letting the stamp design and color choices do almost all the work. You will see how a simple one-layer design can look soft and airy, and how the exact same image can look bold and dramatic just by changing the layout.

1. Prep the panel
- Cut Classic Crest Solar White Cardstock slightly smaller than your A2 card front.
- Stamp the smaller floral image from Charming Clusters onto Masking Paper using Obsidian Pigment Ink (or any ink). Cut it out right on the outline (cutting on the line gives you cleaner masking without a halo).
Tip: I chose to mask only the smaller image because it is easier to fussy cut than the big, detailed cluster.
2. Stamp and mask the cluster
Place your white panel in the Stampwheel.
Stamp the smaller floral image in Obsidian Pigment Ink.
Cover that stamping with your mask.
Without removing the mask, stamp the larger floral image so it overlaps.
Peel off the mask to reveal one large, beautifully layered bouquet that looks like a single illustration.
If you want a fuller spray, you can repeat stamping.
This becomes Card 1 (the one-layer design).

3. Simple alcohol marker coloring
We are coloring with Cottage Garden Artist Alcohol Markers using a relaxed dark-to-light approach.
Flowers
Start with your darker pink (Dusty Pink C027 - third flower) close to the flower centers and in the folds of the petals.
Add your warm yellow (Golden Honeycomb Y301) right over parts of that pink. You do not have to blend it perfectly. Let the tones overlap and create warmth.
Use your lightest shades (Peachy Glow Y202 or Strawberry Y803) to fill the rest of the petal.
The idea: Some petals lean more pink, some lean more yellow, some are peach. That variation gives instant interest without hard blending work.
You can go back in with Dusty Pink C027 to punch the contrast near the center if you feel it needs it.
Repeat this process for each bloom, but change which color dominates. One flower can start mostly pink. Another can start mostly yellow. A third can be half-and-half or you can start with the darkest marker or the one after it for variation. This gives you a cohesive palette without every flower being identical.
Leaves
The leaves in Charming Clusters are tiny. Keep it easy:
Scribble the darkest green in the center/vein area.
Add the next lighter green around it.
Finish the rest of the leaf with the lightest green.
No fancy gradients are needed. The quick layering still reads as shaded foliage.
Add the same greens to the flower centers. If the green looks too heavy, dot a little yellow in the very middle.

4. Add the soft shadow background
To ground the image and avoid floating flowers:
Take the Evening Grey Artist Alcohol Marker and outline loosely around the bouquet.
With Morning Frost Artist Alcohol Marker, color the lower area under the florals, extending that gray down across the panel.
Use the same marker to dot and stipple outward so the gray diffuses into white space.
This creates a soft vignette.
5. Add splatter and sentiment
- Dilute Carbon Black Gouache and flick tiny splatters over the panel.
- Stamp your sentiment in Obsidian Pigment Ink.
- Mount this finished panel to a card base. This is Card 1: the "for you" card with the cluster at the bottom and lots of clean white above it.

6. Card 2 with dimension and drama
For the second look, I repeated the coloring process on two more Charming Clusters images, then used the Charming Clusters Die Set to cut them out.
Die cut a bold black circle using the Nesting Circles Die Set.
Adhere the circle to a clean white card front.
Arrange the colored floral pieces climbing along the edge of that black circle.
Add a stamped and die cut sentiment ("thanks") on top of the circle.
Pop everything up using Instant Dimension Foam Tape.
Finish with more black splatter for balance.
This creates a striking contrast: bright peach, coral, and honey florals against a solid black anchor. Same Charming Clusters image, totally different mood.

Both cards use the exact same stamp set and marker combo. One is flat, soft, and airy. The other is layered, graphic, and high contrast just by adding the black cardstock die-cut. You can choose whichever style matches the occasion, or make a set and gift both.

I hope you enjoyed seeing the Charming Clusters Stamp Set in two styles. If alcohol markers usually intimidate you, I hope this gave you permission to play instead of stress. You do not have to blend perfectly to get beautiful results.
If you try this look, please tag me so I can see your version. Thank you so much for stopping by today. Happy crafting!
Don't Miss This!

Save up to 50% off on our Dies Collection from November 16, 2025 at 12:01 AM EST until November 18, 2025 at 11:59 PM EST. Shop here: https://altenew.com/collections/all-dies
SUPPLY LIST