


Card Making with Soft Florals on Modern Geometric Backgrounds.
Hello Altenew friends! Hannelie here and today I’m sharing a pair of clean and modern cards that balance soft floral imagery with structured geometric backgrounds for a timeless, elegant, card making look.
To create the backgrounds on today's cards, I used the Geometric Essentials: Circles Press Plates as well as the Geometric Essentials: Squares Press Plates. I paired it with florals from the stunning Bouquet of poppies stamp set.
The simple, clean line style of these floral images is what makes them work so well with the geometric backgrounds. Because the outlines are not overly detailed, they don’t compete with the structured shapes or the letterpress texture.

To make today's cards you will need :
- White cardstock
- Die cutting machine
- BetterPress System
- Stampwheel
- Geometric Essentials: Circles Press Plates
- Geometric Essentials: Squares Press Plates
- Bouquet of Poppies stamp set
- One Go: Solid Sentiment Strips 2 press Plate
- One Go: Solid Sentiment Strips Die
- Pocketful of Sunshine Fresh Dye ink bundle
- Enchanted Garden Fresh Dye ink bundle
- Obsidian Black Ink
- Citrine Gem Sparkles
- Milky Way Gem Sparkles
- Instant Dimension Foam Tape
Step-by-Step Card Making Instructions: Circles Press Plate Background
Step 1: Create the Card Base
Trim and fold a sheet of white cardstock to create an A2-size card base. Trim an additional piece of white cardstock to fit the front of the card base.
Step 2: Prepare the BetterPress Panel
Use light-tack tape or washi tape to secure the trimmed card panel to the upper plate of the BetterPress system.
Step 3: Press the Background Design
Place the large circle press plate onto the magnetic chase and ink it with Citrus Burst Fresh Dye ink. Run the chase with the press plate through your die-cutting machine.
Repeat this process two more times using the small dotted press plate. For the dots, ink with Fresh Lemon (top left) and Honey Drizzle, slightly overlapping the large circle on the right-hand side.
Step 4: Stamp the Focal Image
Carefully remove the card panel from the BetterPress upper plate and secure it onto the sticky mat of the Stampwheel.
Position the poppy stamp over the pressed background and stamp it with Obsidian Black ink. Stamp a second time if needed to ensure solid coverage, especially over the dotted letterpress areas.
Step 5: Create the Sentiment
Use the One-Go: Solid Sentiment Strips 2 press plate inked with Obsidian Black ink in the BetterPress system to create the sentiment. Die cut the sentiments using the coordinating die. You’ll also have eleven extra sentiments ready for future projects.
Step 6: Assemble the Card
Remove the card panel from the Stampwheel and adhere the sentiment using Instant Dimension foam tape.
Attach the card panel to the card base using your adhesive of choice.
Step 7: Add Embellishments
Finish the card by embellishing with Gem Sparkles.

Let's take a closer look at the subtle texture created by the circles press plate :

Step-by-Step Card Making Instructions: Squares Press Plate Background
Step 1: Create the Card Base
Trim and fold a sheet of white cardstock to create an A2-size card base. Trim an additional piece of white cardstock to fit the front of the card base.
Step 2: Prepare the BetterPress Panel
Use light-tack tape or washi tape to secure the trimmed card panel to the upper plate of the BetterPress system.
Step 3: Press the Background Design
Place the medium square press plate onto the magnetic chase and ink it with Wisteria Fresh Dye ink. Run the chase with the press plate through your die-cutting machine.
Repeat the process using the small square press plate inked with Ultraviolet Fresh Dye ink, positioning it to overlap the larger squares on the right-hand side.
Step 4: Stamp the Focal Image
Carefully remove the card panel from the BetterPress upper plate and secure it onto the sticky mat of the Stampwheel.
Position the second poppy stamp from the same set over the pressed square background and stamp it with Obsidian Black ink. Stamp a second time if needed to ensure solid coverage, especially over the smaller letterpress areas.
Step 5: Add the Sentiment
With the card panel still secured in the Stampwheel, select one of the sentiments from the stamp set and stamp it directly onto the card panel using Obsidian Black ink.
Step 6: Assemble the Card
Remove the card panel from the Stampwheel and adhere it to the card base using your adhesive of choice.
Step 7: Add Embellishments
Finish the card by embellishing with Gem Sparkles.

Let's take a closer look at the subtle texture created by the squares press plate :

Tip: When planning your layout, remember that the printed design appears on the opposite side of where the press plate is placed on the chase. If you want the design on the right-hand side of the card, position the press plate on the left-hand side.

Press plates are a wonderful addition to card making, especially when you want to add texture without extra layers. The letterpress effect creates subtle dimension and visual interest in the background, making it ideal for clean and modern designs.
I hope this project inspires you to experiment with geometric backgrounds and let simple, clean florals take center stage in your own cardmaking.
Happy crafting!
Before You Try This Tutorial, You Might Want to See This Deal!
Hey there crafty cardstock lovers! From February 24th, 2026 at 12:01 AM EST to February 26th, 2026 at 11:59 PM EST, all Crafty Necessities Cardstocks & Envelopes are 20% Off! This is your time to stock up on those cardstocks and envelopes you've had in your cart forever.
Don't wait too long, this deal disappears TOMORROW! Shop HERE.

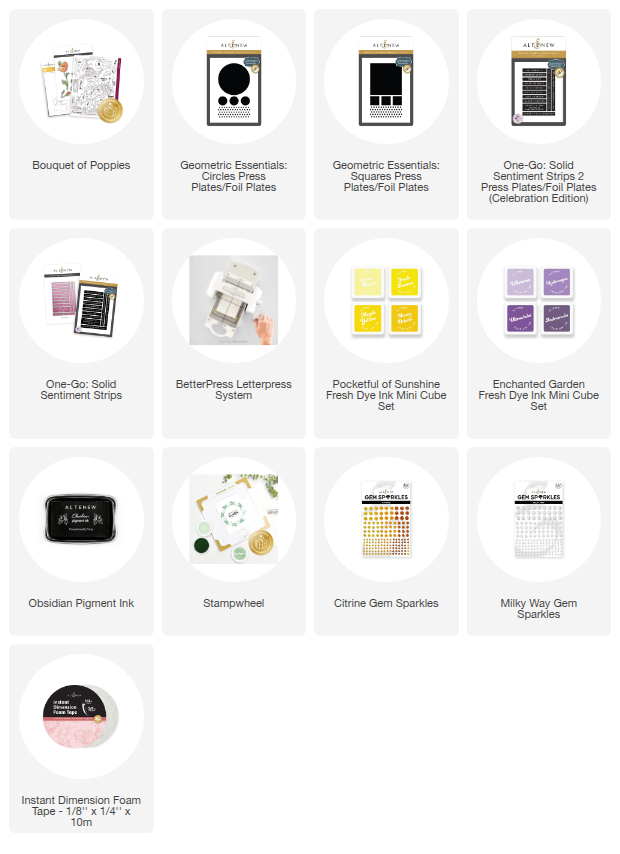
Supply List


Leave a comment