Capturing Life's Quiet Details feat. Craft Your Life Project Kit: Frozen Moments
Hi, crafty friends! It’s Reiko here today to share two scrapbook projects I created with the Craft Your Life Project Kit: Frozen Moments. This kit is absolutely breathtaking — the delicate floral motifs, beautifully detailed frames in five lovely shapes and sizes, and elegant coordinating stencils make it a dream to work with. Whether you enjoy cardmaking, journaling, or memory keeping, this kit brings a soft, uplifting magic to your paper crafts.
![[Image]](https://cdn.shopify.com/s/files/1/0388/7541/files/altenew-cyl-frozen-moment-1.jpg?v=1771335257)
One of the things I always appreciate about a Craft Your Life Project Kit is how versatile they are — you can go full-on elegant with layered florals and decorative touches, or keep it minimal. This time, I went for a soft, gentle look that’s perfect for documenting quiet, heartfelt memories.
About the Kit
The Frozen Moments Project Kit includes a gorgeous stamp set with silhouette-style blooms, finely detailed frames in five different shapes, a stencil set, and a 3D embossing folder. I love how Altenew’s project kits provide everything you need to create cohesive designs in one box.
For this post, I will be sharing two scrapbook projects featuring some beautifully detailed die-cut frames that instantly draw the eye to your photos and help tell your story. These ornate frames look almost real, with delicate carving-like details that add a classic, refined touch to any layout. Instead of using them as simple decorations, I treated the frames as key storytelling pieces that either highlight a focal photo or support smaller moments around it.
![[Image]](https://cdn.shopify.com/s/files/1/0388/7541/files/altenew-cyl-frozen-moment-5.jpg?v=1771336187)
Today’s Projects
I created:
- Project #1: a 6x6-inch layout
- Project #2: a mini book spread
In both projects, the die-cut frames act like miniature gallery frames or molded wall décor, giving your photos a special “display space” on the page.
Project#1 : Cherishing Quiet Days
For the 6x6-inch layout, I started by embossing a piece of cardstock, adhered a striped paper as the background, and then let one large, ornate frame become the main focal point. I die-cut the frame from brown cardstock and then embossed it by using the 3D Embossing Folder from the project kit to bring out every little curve and carved detail. I also added some white paint on the frames. This step gives the frame a dimensional, almost antique look, similar to a vintage picture frame hanging on a wall.
![[Image]](https://cdn.shopify.com/s/files/1/0388/7541/files/altenew-cyl-frozen-moment-2.jpg?v=1771336707)
I placed my main photo inside this big frame, right at the center of the layout. The deep brown color contrasts beautifully with the soft background, so the viewer’s eyes go straight to the photo. Around the large frame, I arranged two smaller frames, each one holding floral images from the Floral Cameo 3D Embossing Folder. By clustering different sizes together, the page begins to feel like a cozy room filled with framed artwork.
![[Image]](https://cdn.shopify.com/s/files/1/0388/7541/files/altenew-cyl-frozen-moment-3.jpg?v=1771337543)
To emphasize that “room” feeling even more, I trimmed one of the rectangular frames and used the pieces like decorative wall moldings. This simple trick makes the whole page look like an elegant interior wall, with the photos displayed as cherished art pieces. A sentiment die-cut at the bottom finishes the page and adds a sweet title without taking attention away from the framed photos.
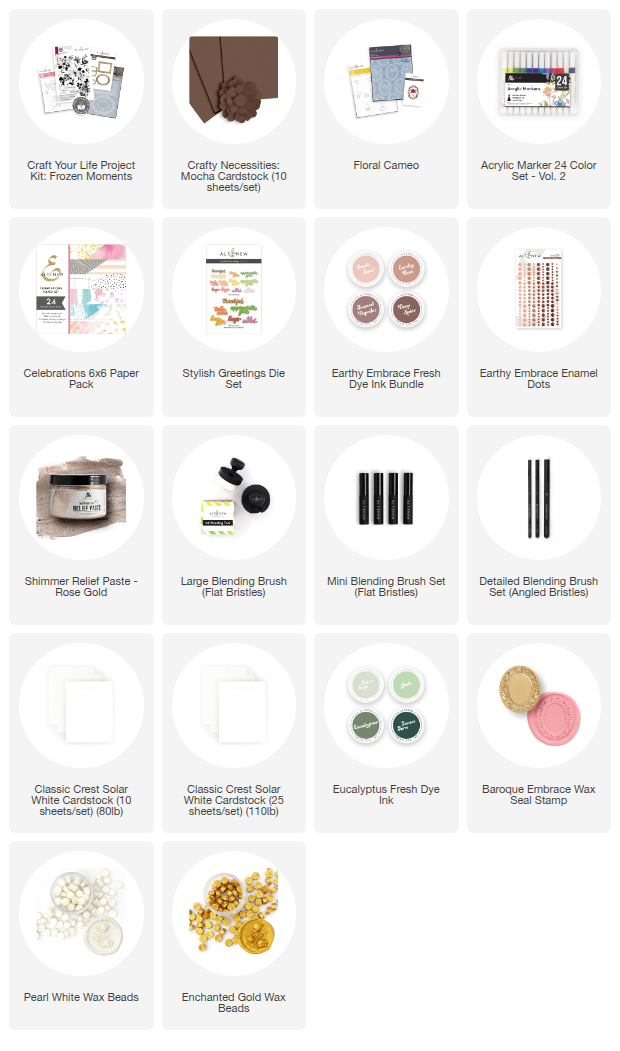
The products I used to make the project#1
To create background:
- Floral Cameo 3D Embossing Folder
- Acrylic Marker 24 Color Set - Vol.2
- Celebrations 6x6 Paper Set
- Off-white cardstock paper
To Create Frames:
- Craft Your Life Project Kit: Frozen Moments 3D Embossing Folder
- Crafty Necessities: Mocha Cardstock
- White Paint
To Create a Title:
- Stylish Greetings Die Set
- Earthy Rose Fresh Dye Ink
- Shimmer Relief Paste - Rose Gold
- Mini Blending Brush
- Vintage music sheet paper
Project#2 : Mini Book Spread
For the mini book spread, I wanted to show how small frames can help you tell a clear story in a limited space without making the page feel crowded. I worked on two facing pages, blending soft ink colors in the background to create a gentle gradient. Over this base, I stamped a silhouette-style floral image and then lightly misted it with water to blur the edges. This water-misting technique creates a dreamy, mixed media look while still keeping the overall design soft and light.
![[Image]](https://cdn.shopify.com/s/files/1/0388/7541/files/altenew-cyl-frozen-moment-6.jpg?v=1771340043)
On top of this background, I added a few small, detailed frames. Inside some of them, I placed tiny cropped photos so that each frame holds a single moment or expression. Because the frames control the size and shape of the images, the spread stays clean and organized, even with multiple photos and embellishments. The frames guide the viewer’s eye across the page in a calm, intentional way rather than letting everything blend into one busy collage.
I also used the stencils to create floral images that fit perfectly inside the oval frame. These stenciled florals become beautiful accents, almost like framed botanical prints on the wall. They help balance the photos and add color without competing for attention. Enamel dots and a wax seal-style embellishment add texture and complete the spread with a playful yet elegant touch.
![[Image]](https://cdn.shopify.com/s/files/1/0388/7541/files/altenew-cyl-frozen-moment-4.jpg?v=1771335193)
The products I used to make the project#2
Why These Frames Work So Well
These realistic, highly detailed frames are perfect for:
- Highlighting a single important photo as the main focal point.
- Creating a “gallery wall” effect with multiple frames in different sizes.
- Adding structure to mini books so that small photos and embellishments don’t feel cluttered.
By treating the frames as part of your storytelling, you can turn simple photos into curated moments, just like artwork in a favorite room at home. Whether you use them on a compact 6x6-inch layout or across a mini book spread, they add instant sophistication and help your memories stand out.
Reflecting on the Creative Process
Crafting these projects reminded me why I love scrapbooking with stamps, dies, and embossing folders — each project opens a space for calm creativity and self-expression. As I worked, I found myself drawn to soft colors, layered textures, and delicate details that create a peaceful, heartfelt atmosphere on the page. The beautifully detailed frames, along with the coordinating stamps, stencils, and dies, work together to help you build cohesive, artful designs that really highlight your photos and stories. I encourage you to explore these frames not only on scrapbook layouts but also on cards, mini books, home décor projects, or even journal covers. Their versatility makes them a wonderful addition to your stash, and they add an elegant finishing touch to any project.
Thank you so much for stopping by! I’d love to know how you like to use ornate frames in your own projects and if today’s ideas inspired you to try something similar. Please share your beautiful creations — it always makes my day to see how you bring your stories to life with your unique style!
SUPPLY LIST