Serene Blooms – Warm and Uplifting Floral Cards
Today's beautiful floral ensemble combines elegant line art stamps with coordinating stencils and dies, making it effortless to build colorful designs. Hello Crafty Friends, This is Bibi Cameron, and I’m excited to share a pair of bright and cheerful cards created with the Build-A-Garden: Serene Blooms by Altenew.
For this project, I paired the delicate blooms with a vibrant ink-blended background in rich orange tones to create cards that radiate warmth, joy, and positivity.

Cards Recipe
These are A2 side-fold cards and require very few supplies.
DIES, STAMPS, EMBOSSING:
PAPER
- Neenah 110lb Solar Crest - Card base and for stamped images.
Crafty Necessities: Pumpkin Pie Cardstock - For the background.
Crafty Necessities: Volcano Lake and Olive Cardstock -For the small branches in Card 2.
INKS
Obsidian Pigment Ink -For stamping
- Warm Sunshine, Orange Cream, Firebrick Fresh Dye Ink - for the flowers
- Grass Field and Mountain Pine = for the leaves
- Volcano Lake, Mountain Pine, and Platinum Ink -to add accents to the flower base in Card 2.
EMBELLISHMENTS
Love You - Serene Blooms Card 1

The Cardmaking Process
- I started by stamping the images from the Serene Blooms Stamp Set using Altenew Obsidian Ink over 110lb Neenah Solar Crest Cardstock. I used the Stampwheel for precise alignment and even pressure.
- Then, I applied color using the Serene Blooms coordinating stencils.
- Next, I die-cut the stamped images with the coordinating dies.
- I also die-cut a small branch from Olive and Volcano Lake Cardstock using the coordinating die set.
- For the background, I trimmed two 5-1/4" x 4" panels from Pumpkin Pie Cardstock and applied Firebrick Ink to the bottom portion of each panel.
- To add texture, I splattered the panels with Gold Sparkle Base (gold watercolour paint).
- Once the panels were dry, I foam-mounted the images and adhered some of the die-cuts directly to the background as shown.
- I also added Altenew Stellar Sequins - Sparkling Gold for a little bit of sparkle.

Sending Happy Thoughts - Serene Blooms Card 2

To add an accent to the flower base, I die-cut the piece from white cardstock and blended Volcano Lake and Mountain Pine inks over it. Then I applied clear ink and heat-embossed the piece with clear embossing powder.
Next, I added Altenew Platinum ink to the edges and heat-set it once more for a subtle glossy finish.

That's all for today.
Thanks for stopping by.
Bibi
If you enjoyed reading through this blog, be sure to check out the October Inspiration Guide Ebook! It's filled with tons of ideas and cardmaking inspiration featuring the supplies used in this tutorial. Happy crafting!

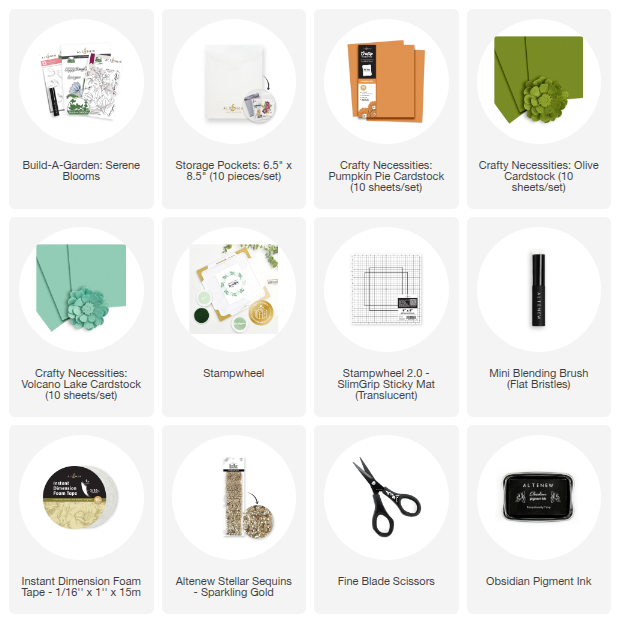
SUPPLY LIST