Bring Monochromatic Elegance to Your Projects with Regal Flourishes Block
Key Takeaways
Utilize Tone-on-Tone Patterns: Use the Regal Flourishes Block in a repetitive stamping pattern with different shades of the same color family (e.g., Frosted Sea Glass and Coastal Haze) to create a sophisticated, cohesive background.
Layer for Depth: Enhance the monochromatic look by using lighter ink for the base image and darker tones for the detailed motif, adding visual interest without introducing new colors.
Incorporate Interactive Elements: Break up the design by adding a vellum pocket and cardstock insert. This adds playfulness and extra space for photos and journaling while maintaining the elegant theme.
Focus on Detailed Accents: Use matching dies and "cookie" wax seals in complementary shades to create clusters that anchor your sentiments and titles.
Curate Finishing Touches: Maintain the monochromatic aesthetic by choosing small phrase stickers and embellishments in the same color palette to ensure the main flourishes and photos remain the focal point.
Hello crafty friends! It's Nathalie with you to share a fun creative idea to bring monochromatic elegance to your projects featuring the new Regal Flourishes Block. This new set is beautifully design in a delicate but detailed motif with great sentiments stamps -with a matching die- that can be used for many different crafty projects.
Let's take a look at what I have created with this new set for my memory keeping album:

Add Monochromatic Elegance to Your Background
First, I want to show you how you can bring monochromatic elegance to your projects by using only the motif in the stamp set and fresh dye inks.

The Regal Flourishes Block stamp set is designed so that it can easily be stamped on a series/repetition to create a pattern on any background. I am taking advantage of just one family of different tones of the same color for my project; just image how you can bring monochromatic elegance to your projects with customized colors.

Here is how I created the background of the spread:
- Trim a 7"x8.5" piece of white cardstock for the base.
- Using a Stampwheel 2.0 and Frosted Sea Glass Fresh Dye Ink cover the entire background with the base image of the Regal Flourishes Stamp.
- Using Coastal Haze Fresh Dye Ink cover the already stamped images with the detailed motif of the Regal Flourishes Stamp. Set aside to dry completely.
- On a separate piece of cardstock create two complete Regal Flourishes images using Coastal Haze Fresh Dye Ink for the base, and Misty Harbor Fresh Dye Ink for the detailed images. Set aside to dry completely.
Using Regal Flourishes to Bring Extra Touches

Now that the background is ready, it is time to bring monochromatic elegance to your projects using a little flair with an interactive piece.
Add the Detailed Elements

The idea of creating an interactive element to bring monochromatic elegance to your projects helps to break the monotony of the design, as well as add a sort of playfulness to it, too.
Here is how the pocket and insert were created.
- Cut a 8"x5" of transparent vellum for the pocket.
- Using Crafter's Essential Scoring Board score the piece at 0.5" from left and right edges and 0.75" from bottom edge, fold to create pocket.
- Using Comfy Cut Craft Knife carefully separate the Regal Flourishes images (set aside) and glue them on an angle at the left and right edges of pocket, and trim excess on the left and right edges.
- Glue a left over piece of the flourish to the center of the bottom edge of the pocket.
- Glue the back of the folded edges of the pocket to the background at about 0.5" from bottom edge.
- Using Obsidian Pigment ink stamp a sentiment from Regal Flourishes, and die cut, then glue to the center of the front of the pocket.
- To create insert, trim a 5.5"x7.5" piece from Crafty Necessities Misty Morning Cardstock
- Adhere photo, and another left over piece of the Regal Flourishes images to the top of the insert
- Stamp one of the sentiments from the Regal Flourishes Block below the bottom edge of the photo.

- Using strong glue and foam adhesive create a cluster of "cookie" wax seals at the top left corner of the tag.
- Using foam adhesive secure the stamped title to the center of the "cookie" wax seal cluster at the top of the page - Note: the number of seals depends on the space needed to add the story.
- Use three (3) "cookie" wax seals to create a small cluster at the bottom right corner of the tag.
- Use foam adhesive to secure the small press plate sentiment to the small cluster. Choose the sentiment to help complement/cap the story.
Add Small Details

The last step to bring monochromatic elegance to your projects is to carefully choose your finishing touches. I am adding small phrase stickers in the same color so that the photo and flourishes are the focus of the spread.
I hope this has inspired you to bring monochromatic elegance to your projects using the new Regal Flourishes Block. Be sure to share with us your finished projects, we love to see what you create.

For VIPs only: Get 2X Points on every order from May 17, 2026 at 12:01 AM EDT until 11:59 PM EDT. Shop here: https://altenew.com/collections/all-altenew-products
Not part of our Loyalty Program yet? Create a store account HERE to start earning your points for future savings!
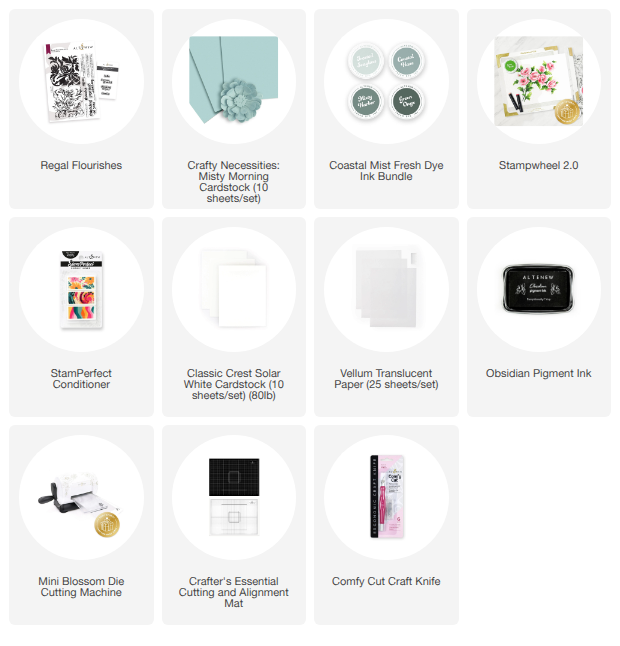
SUPPLY LIST