Bold Paper Piecing Hellebore Card with Dramatic Florals

Paper piecing was one of the first techniques I explored when I began cardmaking, and this project felt like the perfect opportunity to return to it. For today’s project, I created a bold and elegant paper piecing featuring rich purples, soft yellows, and luxurious gold accents. The floral arrangement becomes the focal point, layered over a dark background for maximum contrast and impact.
This paper piecing design highlights how mixing colored cardstock, ink blending, and dimension can elevate a single floral stamp into a statement piece.

Creating the Base Floral Panel with Paper Piecing Elements
To start this card, I gold heat-embossed the main floral stamp from the Build-A-Garden: Hellebore Heaven set onto white cardstock using Antique Gold Embossing Powder. Once embossed, I colored the image using the coordinating layering stencils.
For the flowers, I blended Lemon Ice and Mid Yellow Fresh Dye Inks for the soft yellow petals, while Deep Iris and Midnight Violet Fresh Dye Inks added rich purple tones.
The leaves were shaded using Shadow Creek and Mountain Pine Fresh Dye Inks.
After completing the coloring, I die-cut the floral panel using the matching die.

Because this element would be mounted onto a dark background, I colored the white die-cut edges with the Pure Graphite Artist Marker to prevent harsh contrast.
Paper Piecing with Colored Cardstock
Paper piecing is what gives this design its layered, dimensional look.
Paper piecing is a technique that involves stamping the same image multiple times onto different colored cardstock or patterned paper, then fussy cutting individual elements and assembling them back together to create a multi-colored, layered design. Instead of coloring everything on a single stamped image, paper piecing allows you to build color and dimension by adhering different parts of the image on top of each other. This approach offers precise color control and adds natural depth, making it especially effective for detailed floral designs.
I stamped and gold-embossed the same floral image onto Crafty Necessities: Deep Iris Cardstock and lightly shaded the petals using Midnight Violet Fresh Dye Ink. Since the cardstock was already colored, the ink was used mainly to enhance the edges and add depth. From this piece, I fussy cut three flowers.

Next, I repeated the process on Crafty Necessities: Buttercream Cardstock, adding soft shading with yellow ink to match the yellow blooms on the main panel. These flowers were also fussy cut by hand.
This approach allowed me to perfectly match the yellow and purple cardstock flowers to the ink-blended flowers underneath, a key technique in building a cohesive paper piecing design.
Adding Shape and Dimension
To bring even more life to this design, I shaped the violet cardstock flowers using the Petal Shaper Tool Set. Gently curving the petals inward added natural movement and prevented the layers from looking flat.
I adhered all the cardstock flowers onto their matching stamped counterparts using black adhesive foam squares. I mixed thin and regular foam squares to vary the height, placing some flowers slightly behind others for added depth.
Assembling the Card Base
The card base was created from Crafty Necessities: Pure Graphite Cardstock, which provides a bold, dramatic backdrop for the floral arrangement. I foam-mounted the completed floral panel onto the card base using black adhesive foam squares, continuing the dimensional theme of the design.
To enhance the dramatic look, I added splatters of Antique Gold Metallic Ink Spray across the background. This ties in beautifully with the gold embossing and adds subtle texture without overwhelming the design.

Sentiment and Finishing Touches
For the sentiment, I used the Versatile Greetings Die Set. The shadow layer was die-cut from Crafty Necessities: Deep Iris Cardstock, while the main greeting was cut from Brushed Gold Metallic Cardstock. I adhered the greeting to its shadow and foam-mounted it onto the card front.
As a final detail, I added Satin Gold Pearl Dots around the florals to echo the gold splatter and embossing. These small accents help balance the composition and finish off the card with an elegant touch.
Final Thoughts
This paper piecing design showcases how layering stamped images with colored cardstock can create a bold yet refined handmade card. By combining ink blending, gold embossing, dimensional adhesives, and paper piecing techniques, you can turn a single floral stamp into a striking focal point.
Paper piecing is a versatile technique that works beautifully for dramatic cards like this one, and it’s a great way to stretch your stamp sets while adding depth and interest to your projects.

Need a bit of extra inspo for your next cardmaking project? Get these FREE & Printable Card Layouts to help you conceptualize and construct your next creation. Use it as a template or simply as inspiration to get those creative juices flowing. Download them HERE!
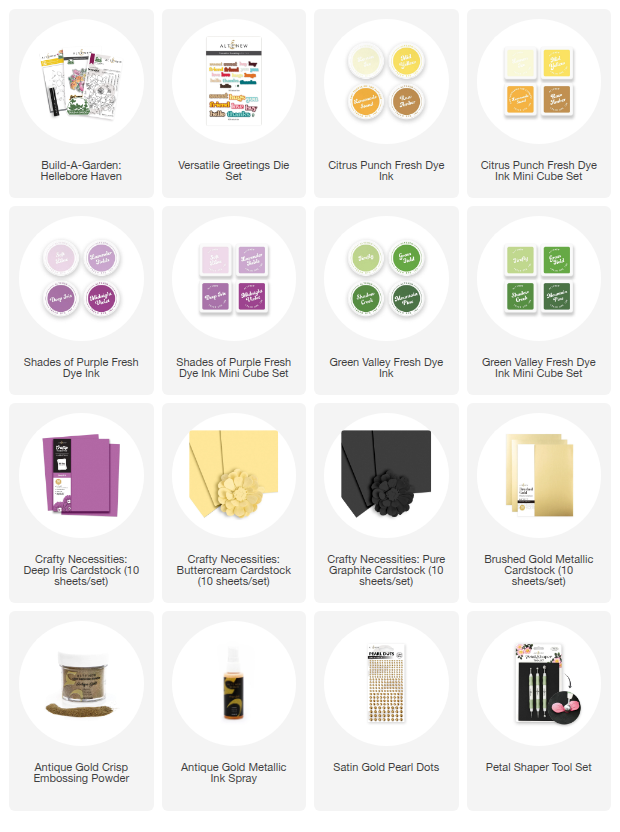
SUPPLY LIST
Leave a Reply