A Recipe for Success: Crafting a Gourmet Dessert Box Card | Perfect Pairings with Jaycee
Welcome back to another episode of Perfect Pairings with Jaycee! Today, we are blurring the line between paper crafting and fine confections. I’m sharing a decadent way to use your wax seals to "dip" die-cut treats into a glossy, realistic chocolate finish. Let's step into the kitchen—and the craft room—to assemble a gourmet dessert box card that looks good enough to eat.

We're diving into the details in this blog, but feel free to take a look at the video over on Altenew's YouTube channel too!
The Pantry: Prepping Your Favorite Treats
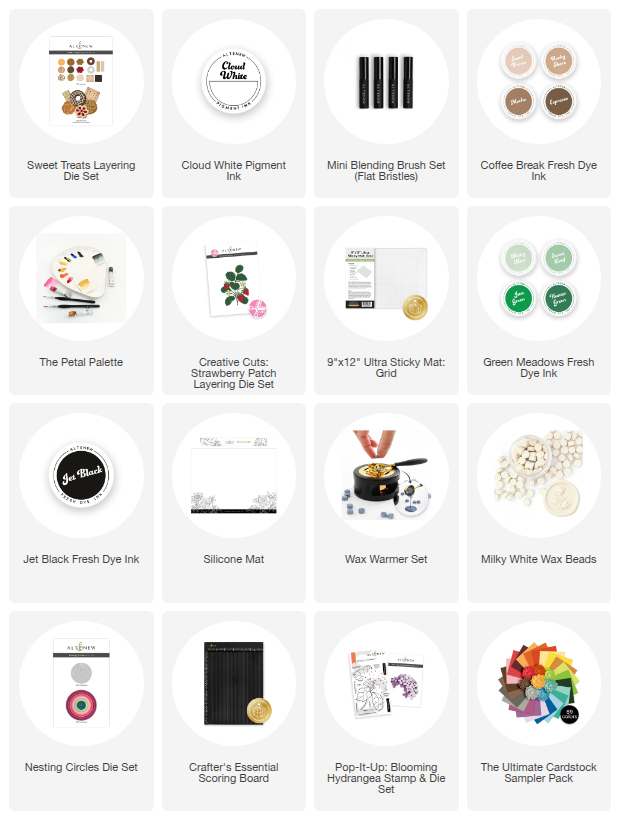
Before we jump into the newest items, let’s grab some well-loved dessert favorites. Using the Sweet Treats Layering Die Set, I let the Altenew layering guide do the heavy lifting for my color choices.
The Menu:
- Chocolate Chip Cookie: Layered in Green Gold, Milk Chocolate, and Paper Bag cardstocks.
- Jam-Filled Shortbread: Sand Dunes, Heart Beat, and Paper Bag. Pro-tip: Offset the Heart Beat and Paper Bag layers slightly to create that realistic "sandwich" look.
- Butter Cookie: Paper Bag, Caramel Toffee, and Sunkissed.
The "Secret Sauce" Details:
To bring these to life, I used Cloud White Pigment Ink to "stipple" on powdered sugar. If you go overboard, you can simply smudge the ink away to blend it! To finish, I added amber edges using Espresso Fresh Dye Ink and a rough crescent blend with a mini ink blending tool for a toasted look. Finally, a drop of Glossy Accents on the shortbread jam gives it an appetizing, realistic shine.

The Star Ingredient: Strawberry Patch
New for January 2026 is the Creative Cuts: Strawberry Patch Layering Die Set. I followed the layering guide (using Crimson, Ruby Red, and Grass Field) to assemble three large strawberries.
The "Chocolate Dipping" Technique:
This is where the magic happens! I cut extra base layers (A1) from Dark Chocolate, Milk Chocolate, and Vanilla Cream cardstocks.
- Irregular Edges: Using scissors, I cut narrow "peaks and valleys" into the chocolate layers to mimic a real hand-dipped edge.
- Highlighting: I shaded the "white chocolate" with Sand Dunes, the "milk" with Espresso, and the "dark" with Jet Black to give them an illusion of sweet shine.

The Showstopper: The Wax Drizzle
To take the realism to the next level, I brought in the Altenew Wax Warmer Set.
- The Drizzle: Using Milky White wax, I practiced getting thin streams on my silicone mat.
- The Method: The secret is to "over-drizzle" beyond the boundaries of the strawberry. Once cool, simply snip the excess wax away. This creates those perfect, thin piped lines you see in professional bakeries!

Assembling the Dessert Box
No gourmet treat is complete without a professional presentation.
- Vellum Liners: Using the Nesting Circles Die Set (the 7th die, 1 3/4" diameter), I cut six vellum circles. I folded them into thirds and made jagged cuts along the edges to mimic pleated glassine liners.
-
The Box: I took an A2 panel of Dark Chocolate cardstock and used the Crafter’s Essential Scoring Board to create a 6-compartment grid.
- Portrait Score Lines: 1/8", 2", 2 1/8", 2 1/4", and 4 1/8".
- Landscape Score Lines: 1/8", 1 3/4", 1 7/8", and 2" (repeated on both sides).
- Finishing Touches: I added Jet Black ink blending to the compartments to create shadows and depth within the box.

The Final Reveal
To finish the card, I tucked in a "Happy Birthday" banner from the Pop-It-Up: Blooming Hydrangea set, stamped in Heart Beat Fresh Dye Ink.
Whether you're a paper crafter or just have a sweet tooth, this project is a calorie-free treat that's ready to be delivered!
What are you "baking" up in your craft room? Tag me and Altenew in your creations—I can't wait to see your gourmet designs!

Your new year creative kick is here! Enjoy up to 30% off on our Fresh Dye Inks Collection and get a FREE Color Combo PDF on every order from January 9, 2026 at 12:01 AM EDT until January 11, 2026 at 11:59 PM. Shop here: https://altenew.com/collections/fresh-dye-inks