Step Up Your Stencil Game: Deco Leaves Background Techniques | Take 2 With Therese + Video

Need some inspiration to stretch your background stencil for a new look? Today I’m sharing two cards made with very similar products - but using different stencil techniques. Each giving a unique look and helping you get more from your stash. Plus, this is a peek into what you can get your hands on in just a few days from Altenew's October 2025 release!
Hi there, it's Therese, and I'm back with another edition of Take 2 with Therese!

A background stencil can instantly transform a plain card base, giving your design texture, dimension, and a polished look with minimal effort - without adding bulk!
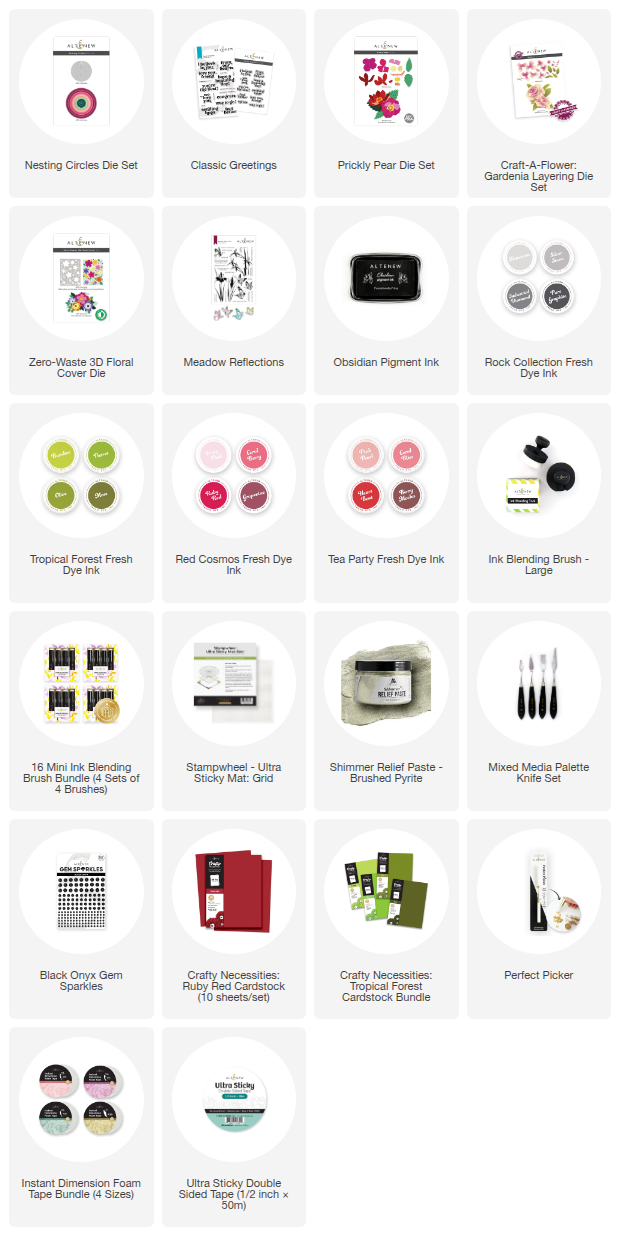
Shop the supplies used to make this card: Deco Leaves Stencil - Nesting Circles Die Set - Classic Greetings Bundle - Prickly Pear Die Set - Gardenia CAF
Card #1: Shadowed Leaves
The Deco Leaves Stencil is a one layer background stencil, but that doesn't mean that it has to look 'flat'.
For my first card, I created a subtle ‘shadow’ using some Limestone Fresh Dye Ink. I then shifted the stencil slightly and added multiple shades of Tropical Forest Fresh Dye Inks through the same stencil, giving the leaves beautiful depth.

I added a beautiful Prickly Pear Die cut flower with some leaves from the Gardenia Craft-A-Flower die set.

PRO TIP: Busy backgrounds can sometimes overpower a design, so adding a focal point with a die cut Nesting Circle, helps highlight the main element and keeps your design balanced.

Shop the supplies used to make this card: Deco Leaves Stencil - Nesting Circles Die Set - Classic Greetings Bundle - Zero Waste 3D Floral Cover Die - Meadow Reflections Bundle - Shimmer Relief Paste: Brushed Pyrite.
Card #2: Tone-on-Tone Green Leaf Layers
You probably already love a quick tone-on-tone background - it’s an easy way to create a beautiful pattern in colors that perfectly match your project. But have you ever thought about stepping it up with multi-inking? I used the Tropical Forest inks on some Bamboo Cardstock here, which adds a ton of depth and dimension without adding bulk.

I also built on the pattern by adding tiny die cut flowers from the Zero Waste 3D Floral Cover Die to each of the leaves to build on the pattern - but the real bonus is a shimmer paste trick I can’t wait to show you!

BONUS Technique: Selective Shimmer Paste
To give this card a subtle sparkle, I used the Brushed Pyrite Shimmer Paste through the dotted sections of the stencil. Instead of waiting for each section to dry, I cut small pieces of masking paper to isolate the areas I wanted to emboss and moved it around the card. This created delicate shimmer in just the right places without slowing down the process.

If you'd like to watch the instructions for this stencil project in-depth, take a look at the video on YouTube.
Which Background Stencil Technique Will You Try First?
A shadowed pattern for subtle depth, or a tone-on-tone multi-inked pattern for a stepped-up look? I’d love to hear which technique inspires you to try first - share your thoughts in the comments below, and feel free to share your cards if you give it a go!

Before you go, don't forget that Altenew will have promo for the entire Stencils Collection! Get your favorite layering, builder, and background stencils for up to 55% OFF! This offer is available from October 14 to October 16! We hope you have a chance to snag those stencils you've been eyeing.
SUPPLY LIST
Leave a Reply