


A Vibrant Autumn Scene with Pink Petunias and Yellow Lantana | Perfect Pairings with Jaycee
In this card-making tutorial, I wanted to preserve a recent, vibrant floral scene I had in my garden. I love the texture, dimension, and bold color-blocked palette of my early autumn bloomers, and I was excited to translate that inspiration into a paper-crafted card.
Keep reading to find out the inspiration behind this textured yet simple arrangement, and how you can blend new and well-loved Altenew products for your own stunning cards.

The Inspiration: A Garden Snapshot

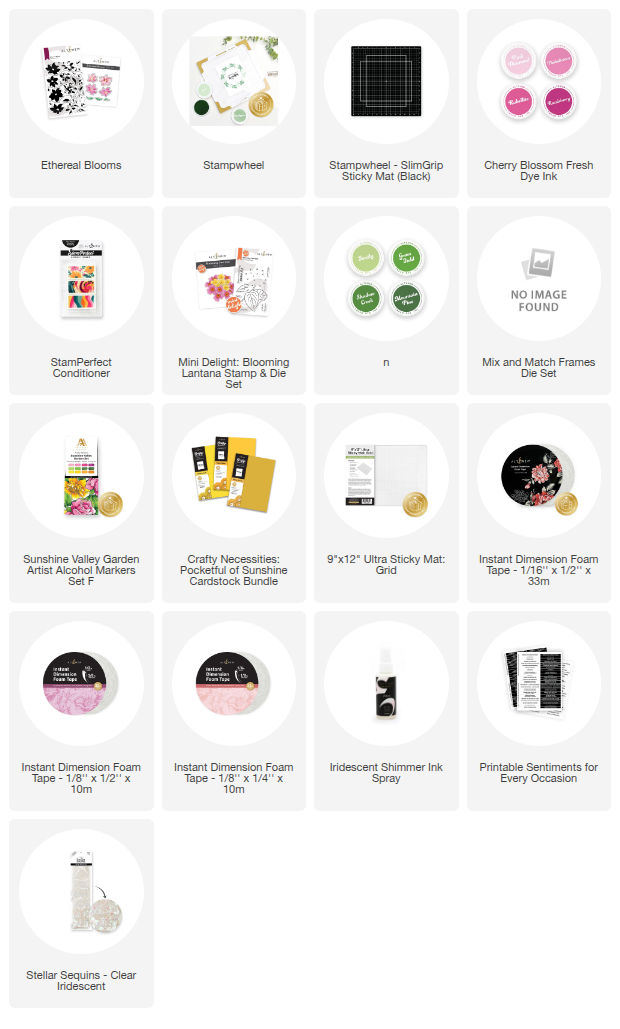
- Dazzling Pink Blooms: I modeled the main flowers after my Proven Winners Bubblegum Petunias. I used the beautiful Ethereal Blooms Layering Stamp Set to capture their prominent pink color.
- Vibrant Yellow Accents: Right next to the petunias, I have a Luscious Royale Lemon Tart Lantana. I chose the Mini Delight Blooming Lantana Stamp and Layering Die Set to represent these cheery yellow blooms, which are still incredibly vibrant even as the garden starts to tire.
This combination of pink and yellow, along with varying levels of dimension, is what creates the perfect scene!
Stamping and Die Cutting Our Floral Creation
1. Stamping the Ethereal Blooms
I started with the Ethereal Blooms Layering Stamp Set and its coordinating dies.
- Stamping Base: I positioned an A2-size panel of white cardstock on my Altenew Original Stampwheel and used the A and C series of blooms (A1-4 and C1-4).
- The Colors: I layered these blooms using the Cherry Blossom Fresh Dye Ink Set for that dazzling pink color:
- Base Layer (A1 & C1): Pink Diamond
- Layer 2 (A2 & C2): Pinkalicious
- Layer 3 (A3 & C3): Rubellite
- Final Layer (A4 & C4): Razzleberry
- Pro-Tip: Don't forget to condition your new stamps with the Altenew Stamp Conditioning Eraser for solid impressions!
- Once stamped, I set them aside to die-cut with the coordinating dies later.
2. Stamping & Coloring the Lantana Stem
Next, I brought in the Mini Delight Blooming Lantana Stamp and Layering Die Set. This set has an innovative layering concept!
- Stamping: I stamped the outline leaf stamp and the coordinating letter layers (part of the layering guide) in Mountain Pine (the darkest ink in the Green Valley Fresh Dye Ink Set).
- Coloring the Leaves and Stem: Instead of traditional ink layering, I used my Artist Markers from the Sunshine Valley Garden setto add depth and texture to the leaves and stem. I started with the darkest shade for depth and worked my way to the lightest for highlights:
- Mountain Pine (darkest)
- Shadow Creek
- Grass Field
- Firefly (highlight)
- I finished this element by fussy cutting the stem and leaves, being careful to cut close to the letters in the bloom area.
3. Assembling the Lantana Blooms
The lantana blooms are die-cut for incredibly easy layering, and the letters on the stamped base act as a keyhole alignment guide.
- Colors: I used cardstock from the Sunshine Valley Garden palette to complement the stamped colors:
- Largest Blooms (Base Layer): Maple Yellow cardstock.
- Large Blooms (Solid Center Layer): Honey Drizzle cardstock.
- Large Blooms (Detail Center Layer): Fresh Lemon cardstock.
- Smaller Blooms (Base Layer): Fresh Lemon cardstock.
- Small Blooms (Detail Layer): Maple Yellow cardstock.
- Layering for Dimension:I used two methods for assembly:
- Glue: I used liquid glue to adhere the first few layers of the die-cut petals to the stamped letters.
- Foam Tape: To add amazing dimension and bring the flower forward, I used 1/16-inch Instant Dimension Foam Tape for the next layer of petals, attaching them to the coordinating letters.
- Finally, I glued the center detail layers over the holes to complete the bloom.

Final Card Assembly
1. Building the Card Front
- I started with an A2-size card base.
- I used the Mix and Match Frames Die Set to cut a white cardstock panel with a gorgeous deckled edge. I mounted this panel onto the card base with 1/16-inch foam tape for subtle lift.
2. Arranging the Florals
- I arranged the Ethereal Blooms (die-cut from earlier) and the assembled Blooming Lantana on the deckled panel.
- I used varying thicknesses of foam tape to create beautiful dimension:
- Ethereal Blooms: The thinner 1/16-inch foam tape.
- Blooming Lantana: The thicker 1/8-inch foam tape to make it pop into the foreground, showcasing its fantastic texture.
3. Adding Sparkle and Sentiment
- Iridescent Splatter: I added some delicate splatter using Iridescent Ink Spray to create a subtle, all-over shimmer that mimics the bright, dewy look of the garden.
- Sentiment: I found the perfect sentiment on Altenew’s Free Printable Sentiments Sheet (a must-have freebie!). I chose "You make my world brighter," which perfectly fit the colorful, sparkling scene. I foam-mounted the sentiment strip on the bottom third of the card.
- Finishing Touch: I finished the card by scattering Altenew Stellar Sequins in Clear Iridescent—they match the ink spray beautifully and add one final touch of sparkle!
Finished Card!
This card perfectly captures the vibrant, textured floral scene from my garden, proving that the Mini Delight Blooming Lantana and the more traditional Ethereal Blooms are a Perfect Pairing!
My series encourages you to shop your existing Altenew stash and rekindle their love with newer releases. Perfect Pairings with JC airs on the Altenew channel every second and fourth Sunday of the month!
Thank you so much for tuning in to this Perfect Pairing episode with me! Let me know in the comments below: What is your favorite new and old product pairing?

Need a bit of extra inspo for your next cardmaking project? Get these FREE & Printable Card Layouts to help you conceptualize and construct your next creation. Use it as a template or simply as inspiration to get those creative juices flowing. Download them HERE!


Leave a comment