How to Use Vellum to Take Your Card to the Next Level
Hello there, everyone! Lydia here! Today, I'll be sharing a technique that will give a beautiful soft focus look with the help of a vellum flap.
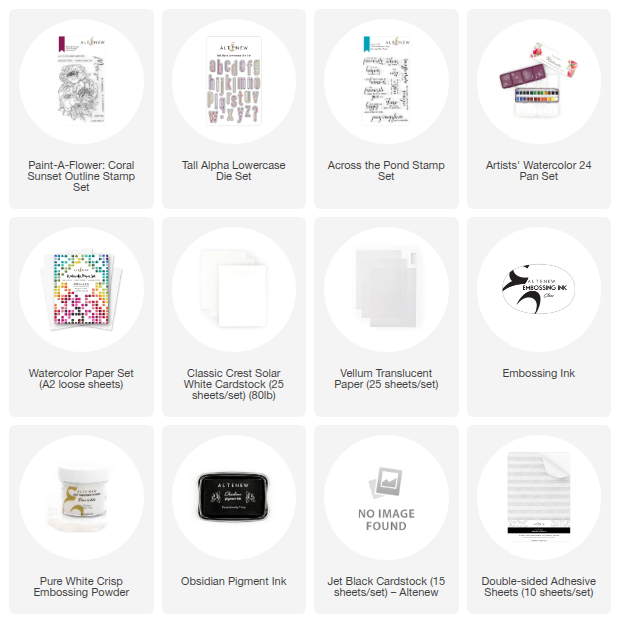
To start, I took a 5″ x 5 1/2″ piece of vellum. I scored at 4 1/4″ on the 5″ edge so when I folded it the piece was then 4 1/4″ x 5 1/2″ with a flap at the side. I then stamped the large image from Paint-A-Flower: Coral Sunset Outline Stamp Set onto this and a piece of watercolor cardstock using Embossing Ink and heat set using Pure White Crisp Embossing Powder. To get the image in exactly the same place on each piece, I used a Misti.
I then added a rainbow watercolor wash to the watercolor piece using colors from Artist Watercolor 24 Pan Set. Once this piece was dry, I added a sentiment from Across The Pond Stamp Set. I masked off the ‘you' in the sentiment before stamping it into place using Obsidian Pigment Ink. When this was done, I adhered the vellum flap behind the watercolor piece making sure to line up the images. For the ‘you' I used Tall Alpha Lowercase and added this into place on the vellum.
To see how this card came together, please watch the video below. Or over on YouTube:
Thanks so much for stopping by!


Leave a comment