Crafting Chaos? Try Organizing with Labels and Decals!
Do you ever find yourself knee-deep in a sea of ink pads, desperately trying to locate that one elusive shade of blue dye ink? Or perhaps you've experienced the frustration of not being able to find a specific shade of marker from a jar full of different coloring tools and writing implements? If so, fear not! There's a simple solution that can bring order to your crafting chaos: labels and decals.
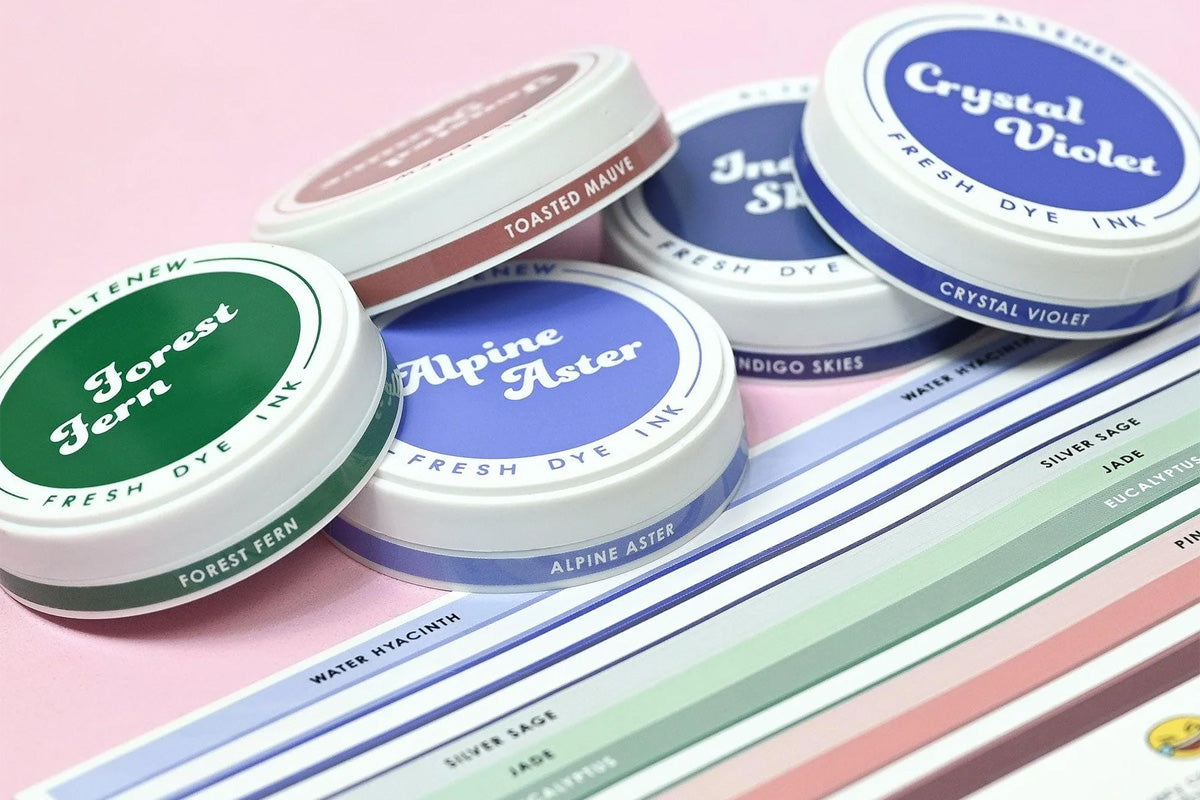
We’ve all had our fair share of moments where we’ve spent more time searching for supplies than actually creating. But, by implementing a labeling system in your crafting space, you’ll notice a significant improvement in your organization and productivity.
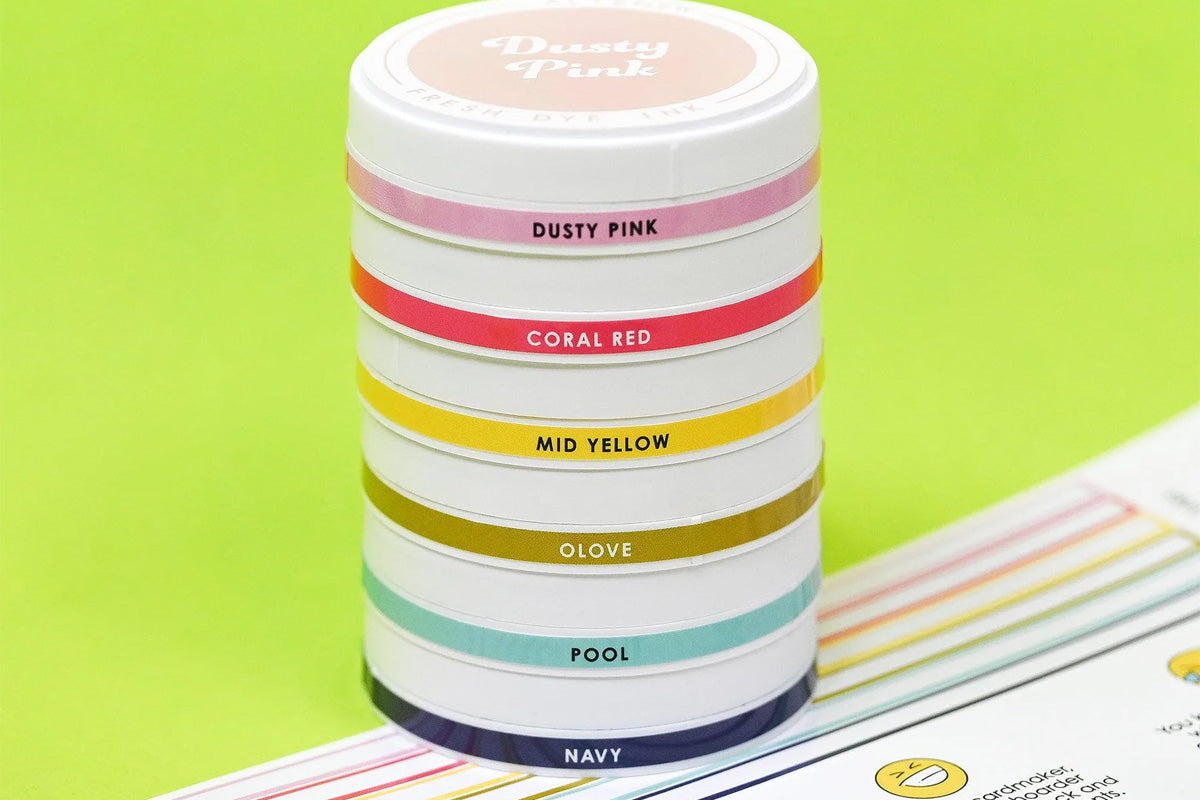
Let us walk you through the process of using labels and decals to revolutionize your crafting setup!
A Step-by-Step Guide to Organizing With Labels and Decals
1. Identify Your Supplies
The first step in any organizational project is taking inventory.
Set aside some time to go through all of your crafting supplies, from stamps to dies, to markers and pens, to inks and brushes. Sort them into categories based on type, usage, or any other criteria that make sense to you. This step lays the foundation for a well-organized crafting space.

2. Choose Your Labels
Once you've sorted your supplies, it's time to choose the right labels or decals to help you keep everything in order.
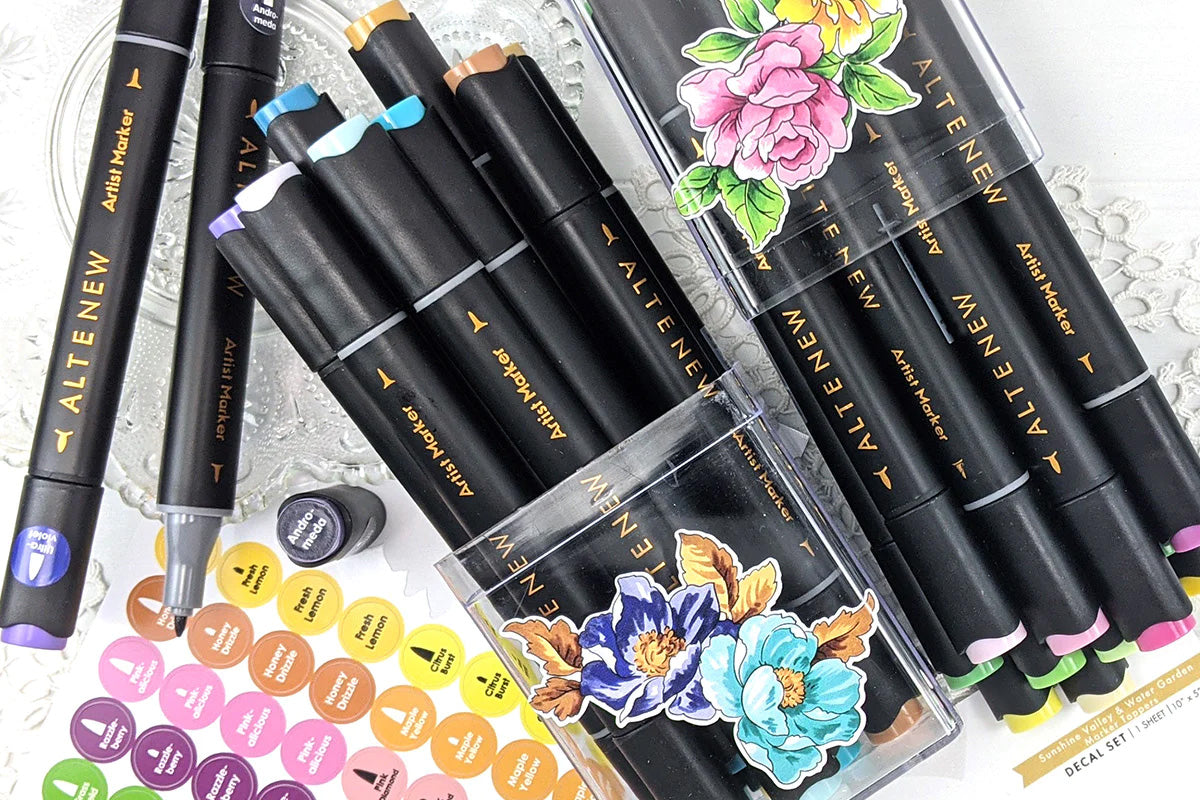
You have a few options here depending on your preferences and creativity. You can opt for pre-made labels from a craft store, which often come in a variety of shapes, sizes, and designs. Or you can get creative and make your own labels using label makers, printable stickers, or even washi tape! The key is to choose (or make) labels that are durable, easy to read, and complement your crafting space's aesthetic.
3. Label EVERYTHING.
With your supplies sorted and your labels ready, it's time for the fun part – labeling!
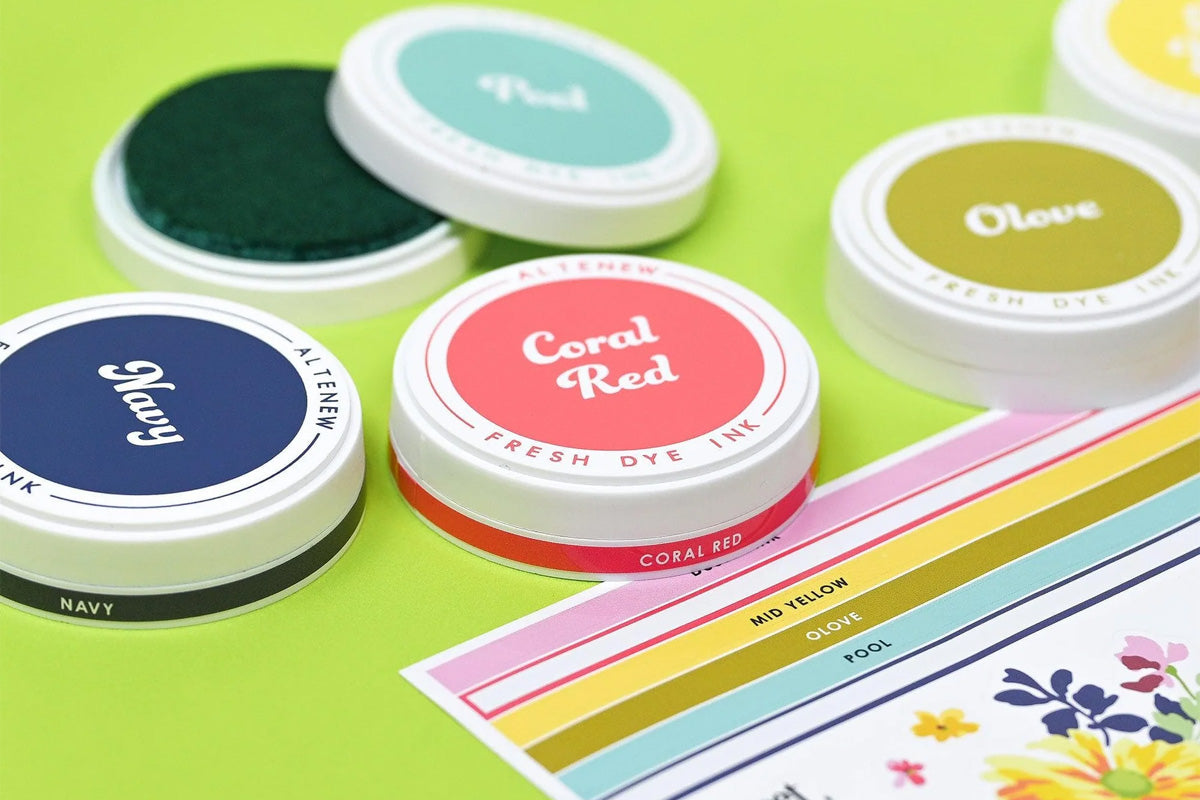
Attach labels or decals to containers, drawers, shelves, or bins where you store your supplies. Be purposeful about the placement, ensuring that labels are visible and easily accessible.
Also, try to group similar items and label each container accordingly. For example, designate one container for stamps, another for markers, and another for stencils, and label them accordingly. This not only makes it easier to find what you need but also helps maintain a clutter-free workspace.
4. Be Specific
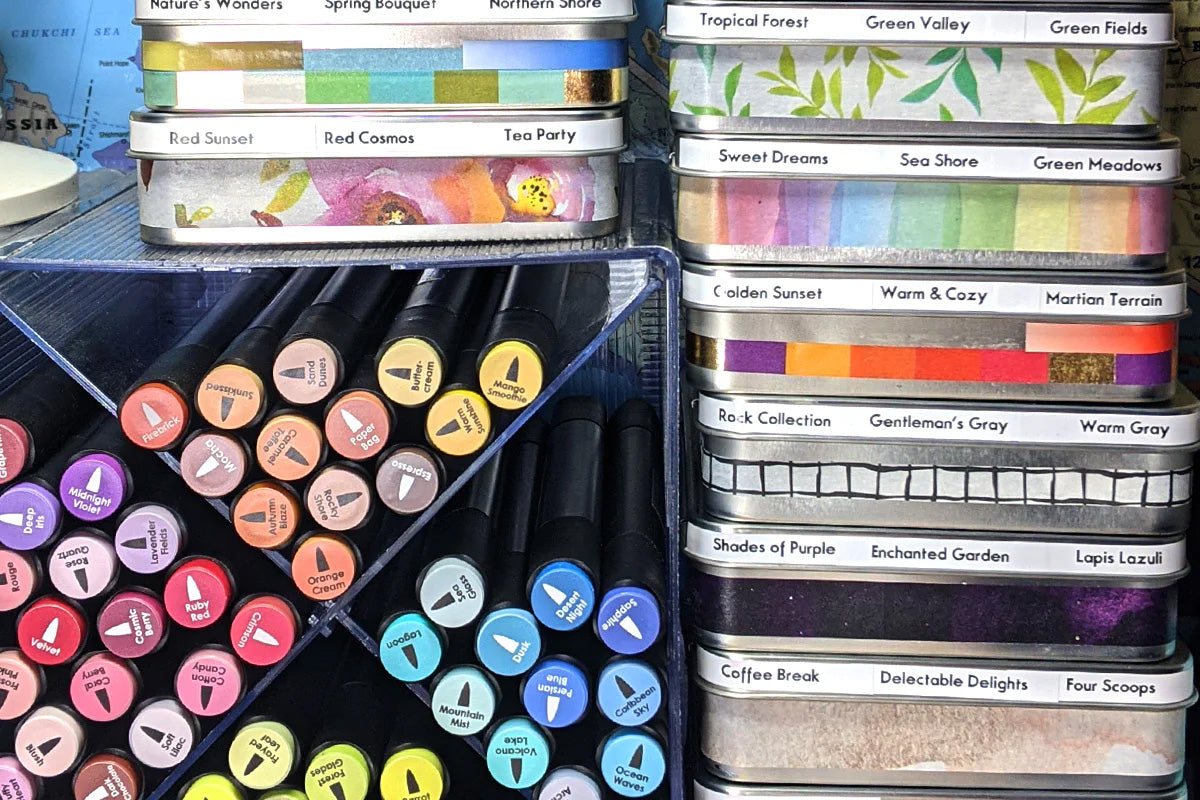
When labeling your containers, don't settle for generic terms like "buttons" or "ribbons." Get specific! The more detailed your labels, the easier it will be to locate specific items when you need them.
For example, instead of just labeling a box with "markers," you could further categorize it by color or type (e.g., "blue markers," "acrylic markers"). Similarly, label containers for 3D embossing folders by design (e.g., "floral embossing folders," "geometric embossing folders").
5. Maintain Consistency
Consistency is key to maintaining an organized crafting space.
Make sure everyone in your household (especially if they love crafting like you do!) knows where each supply belongs, and encourage them to put things back in their designated spot after use.
Create a labeling system that is intuitive and easy for everyone to understand. If possible, use color-coding or clear, descriptive labels to make it as straightforward as possible.
Regularly reinforce the importance of organization and encourage everyone to pitch in to keep the space tidy.
6. Update as Needed
As your crafting collection grows or changes, don't forget to update your labels accordingly!
Periodically review your labeling system to ensure it still meets your needs and make adjustments as necessary. You may find that certain categories need to be subdivided further or that new labels are needed for recently acquired supplies.
Stay flexible and open to refining your organization system over time to keep up with your evolving crafting needs.
More Frequently Asked Questions about Decals and Labels
What is the difference between labels and decals?
Decals and labels are related when it comes to organization and decoration, but they each have their unique vibe.
Labels are your reliable best friend who always keeps things straightforward. Often, they are little stickers or tags you stick onto things to tell you what they are or where they belong. It indicates that this storage bin has "dies," “blending brushes,” or "markers" in it, so you can find stuff in a snap.
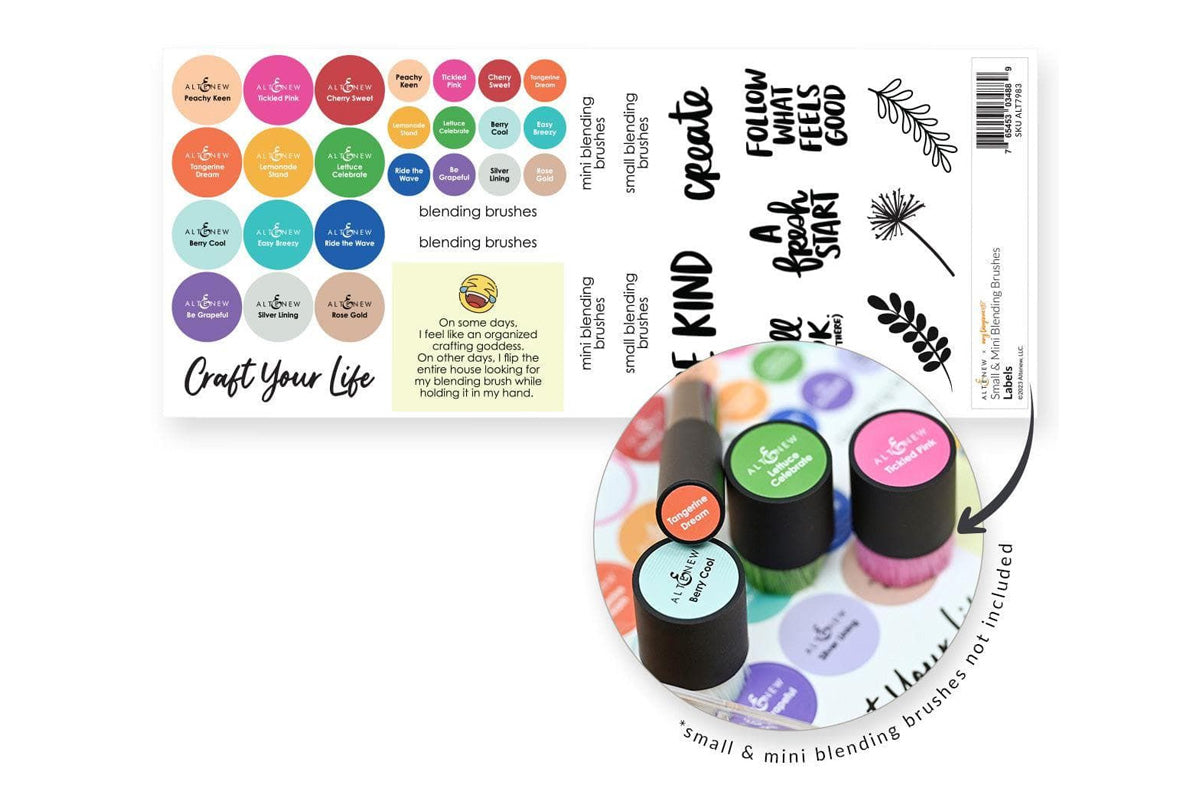
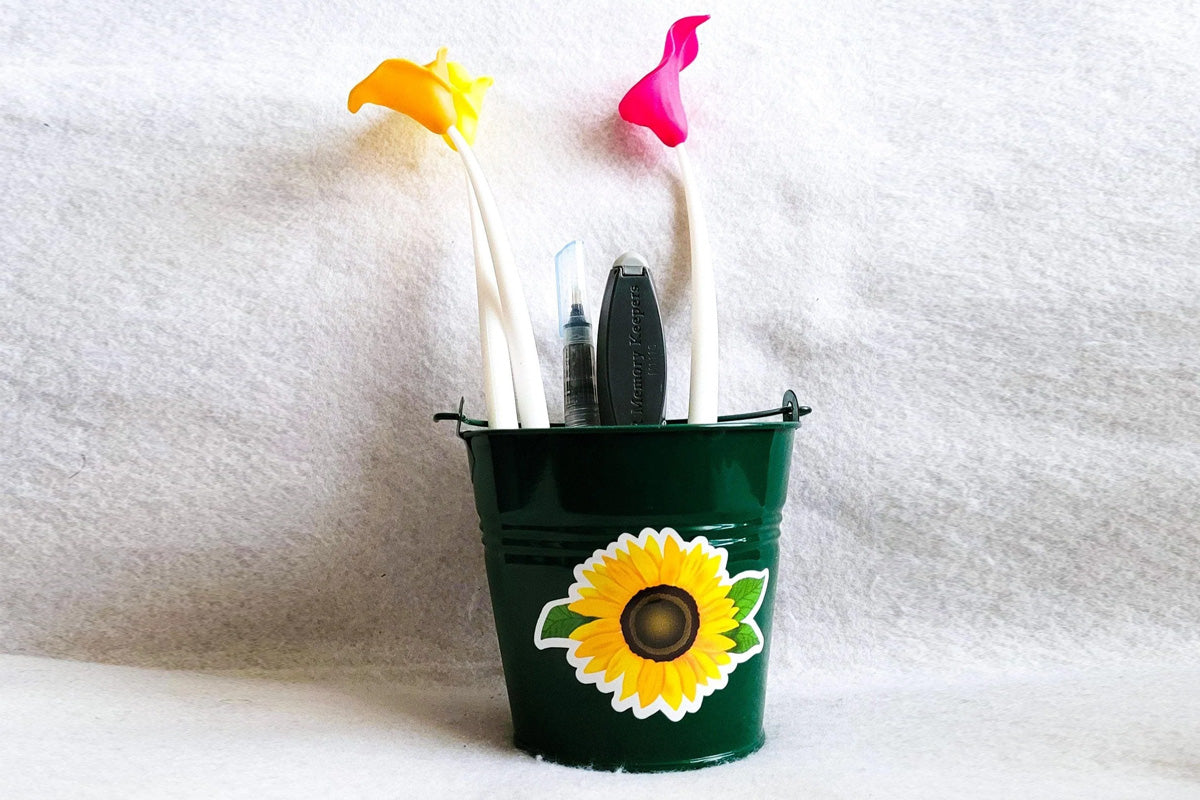
Decals, on the other hand, are often made from the same materials as labels, but they come with designs that add personality to your belongings. They’re also usually larger than regular labels. You might use decals to decorate your craft room or add a pop of color to your storage containers. More often than not, they are also a reflection of your personality, likes, and preferences.

At the end of the day, labels and decals help you keep things organized and functional while adding a little extra style and fun to your space. Indeed, they both play a role in keeping your crafting area in tip-top shape.
How do you benefit from labeling your crafting supplies?
Labels and decals come with a range of benefits when it comes to keeping your crafting space tidy and efficient:
Clarity and Visibility
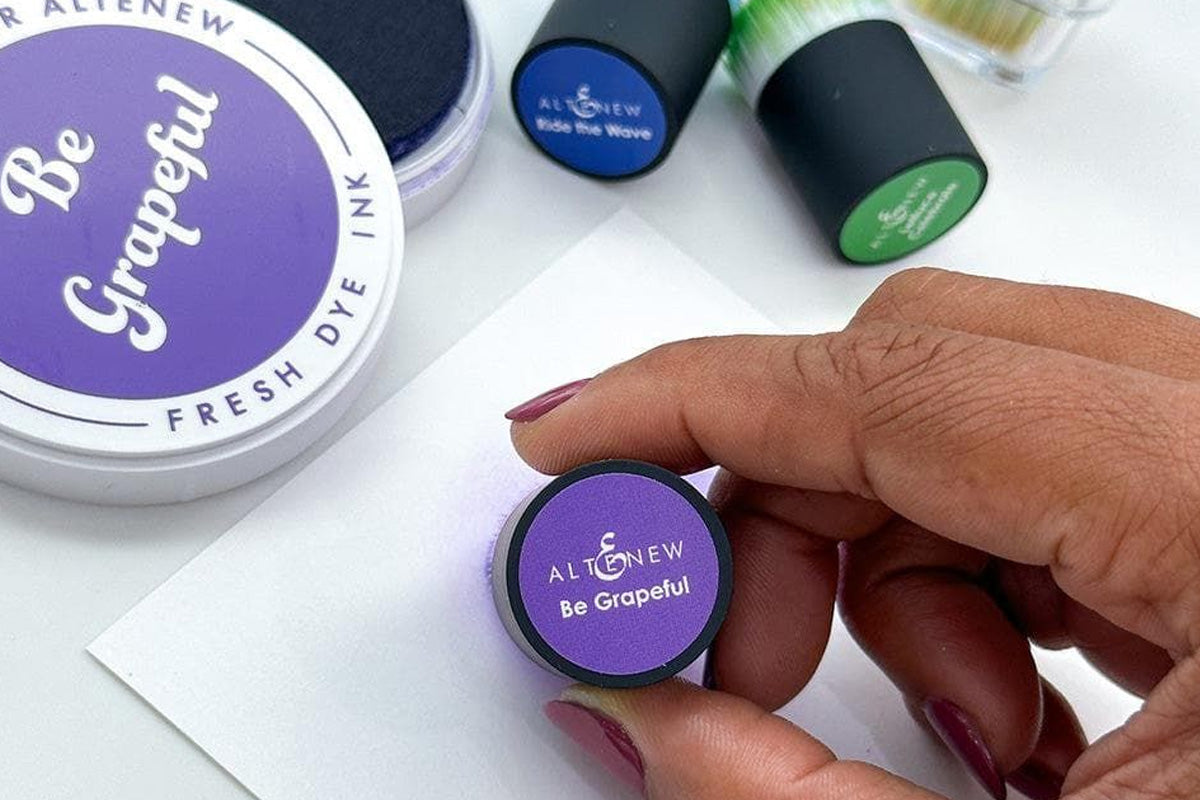
Labels provide clear, easy-to-read information about the contents of containers, drawers, or shelves, making it effortless to locate specific items at a glance. Decals can also serve as visual cues, helping you immediately figure out different areas or categories within your crafting space.
Efficiency
With well-labeled containers and storage areas, you can quickly find what you need without wasting time searching through clutter. This streamlines your crafting process, allowing you to spend more time creating and less time rummaging through supplies.
Organization and Structure
Labels and decals help establish a sense of order and structure in your crafting space by assigning designated spots for each type of supply. This organization prevents items from getting lost or misplaced and makes it easier to maintain a tidy workspace.

Customization
Labels and decals offer flexibility and customization that suit your needs and preferences. Whether you prefer simple, uniform labels or want to add a touch of personality with decorative decals, you can tailor your organization system to reflect your unique style!
Accessibility
By clearly labeling storage containers and shelves, you make it easier for everyone in your household or studio to locate and return items to their proper place. This promotes shared responsibility for maintaining an organized space and ensures that supplies are always accessible when needed.
Visual Appeal
Don’t you just love a colorful, well-designed crafting space? Decals can enhance the visual appeal of your crafting area by adding color, texture, or design elements to otherwise plain surfaces. Whether you opt for whimsical illustrations, inspirational quotes, or geometric patterns, decals can add personality and charm to your space while still serving a functional purpose.
By investing a little time upfront to label and organize your crafting supplies, you'll save yourself countless hours of frustration in the long run. Plus, you'll be able to spend more time doing what you love – creating beautiful masterpieces!
So, what are you waiting for? Grab those labels and decals and start organizing your crafting paradise today. Trust us, your future self will thank you for it! In the meantime, if you need any crafting ideas and inspiration, feel free to drop by In the Craft Room. Happy crafting!


Leave a comment