Acrylic Marker Cardmaking Technique: How to Create a Neon Floral Design
Hello friends!
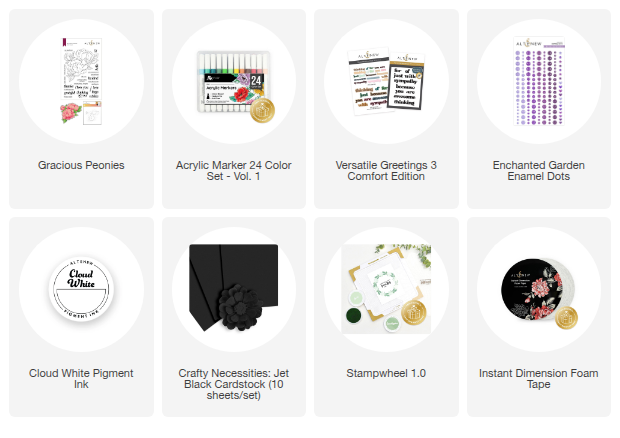
Svitlana is here. Today I’m sharing a fun and bold card created using one of the easiest but most impactful techniques I’ve tried lately—what I call the acrylic marker cardmaking technique. It's a great way to create a neon effect on dark cardstock, and it requires very few supplies. The main star of the show here is the Acrylic Marker 24 Color Set – Vol. 1, which is absolutely essential for this look.
I came across this technique in a short video a while ago (wish I remembered where so I could credit the creator!) and it’s been on my to-try list since. It was originally used on a simple geometric design, but I couldn’t help wondering—what if I apply it to a floral image? Turns out, it totally works.

Selecting the Image
For this card, I selected a large floral stamp from the Gracious Peonies Stamp Set. Large, bold images with clean outlines are best suited for this acrylic marker cardmaking technique, especially if you want the neon lines to really pop.

Creating the Neon Effect with Acrylic Markers
I started by stamping the floral image onto a panel of Crafty Necessities: Jet Black Cardstock using Cloud White Pigment Ink. The white ink won't show up under the acrylic markers, it simply creates a guide for the next steps.

After stamping, I reached for the Acrylic Marker 24 Color Set – Vol. 1.
First, I began tracing the outlines of one of the flowers using the Wisteria Acrylic Marker. I kept the tracing to the outer edges of the petals and avoided any detail lines inside the flower.

Then I added a second layer of color around the flower using the Lavender Fields acrylic marker. This helped build up the glow effect and added more vibrancy around the original outline.

Next, I followed with a third layer using the Deep Iris acrylic marker.
This progression from light to dark— Wisteria, Lavender Fields, and Deep Iris —created a dimensional neon aura that gives the design so much energy.
After finishing with the Deep Iris outline I went back and added another layer of the Wisteria Acrylic Marker to make it brighter and also to cover any areas where I had gaps.

I repeated this process for the second flower and bud.
For the leaves, I used only two shades— Minty Mint and Sweet Green —to keep them from overwhelming the design. Using fewer shades on the smaller elements helps keep the overall look balanced.
Cleaning Up the Image
The original stamp had some detail lines inside the petals and leaves that I no longer needed.
So I "removed" them by coloring over them with the Jet Black Acrylic Marker, blending them into the background. This simple step lets the colored outlines shine as the main feature of the design.

Assembling the Card
Once the neon illustration was finished, I foam-mounted the panel onto a white card base using Instant Dimension Foam Tape.
For the sentiment, I used the Versatile Greetings 3 Comfort Edition Die Set. I die-cut the shadow from Crafty Necessities: Jet Black Cardstock and the letters themselves from white cardstock. Both layers were adhered with black adhesive foam squares , which I prefer when mounting dark elements onto a dark background—makes them look like they’re floating!

To finish off the card, I added a few enamel dots from the Enchanted Garden Enamel Dots Set, which perfectly complemented the floral hues and added a nice touch of polish.
Final Thoughts
This acrylic marker cardmaking technique is surprisingly easy, super fun, and gives a very graphic, bold look. It’s perfect when you want something modern and a little bit different. And even though it leans into a neon aesthetic, you can easily adapt it to softer colors or different designs.
If you’ve never tried coloring with acrylic markers , this is a great first technique to explore. Whether you're into florals or abstract designs, it's a versatile approach worth experimenting with.
Thanks so much for stopping by—hope you’re inspired to break out your markers and try this look!
SUPPLY LIST