


5 Card Making Tips and Tricks for Beginners

Which cardmaking tips should you follow as a beginner?
Have you been bitten by the cardmaking bug and can’t stop looking for cardmaking ideas online? Do you find yourself in awe as you scroll down your Instagram feed and come across fabulous handmade cards? Are you constantly searching for the best cardmaking tips?The plethora of advice for cardmakers readily available on the web would certainly make you feel overwhelmed. How do you keep track of all these so-called beginner-friendly tips and tricks? Don’t fret! We have gathered the 5 best cardmaking tips and tricks for beginners right here! These are easy to remember so you won’t have trouble racking your brain during the cardmaking process.
1. Reuse and recycle!

- Repurpose scraps: You can do this by cutting them into various shapes that you can later add to embellish your card. Colored and glossy papers are perfect for this!

- Reuse the negative part of your die-cuts: Die-cuts can be easily reused and recycled, regardless of their shapes and sizes.
- Use scraps to practice stamping or coloring: In case you’re not sure how a particular stamp image would look like or you want to test some of your coloring tools (alcohol markers, watercolor, etc.), you can always use those leftover scraps.
- Make some confetti: Here’s a fun cardmaking idea! In case your paper scraps are too tiny and irregular in shape, turn them into confetti and add them to your shaker card.
2. Make your background pop!

- The trick here is to pick a color from your main image and use that as your background color.
- If you’re watercoloring your images, you can create a messy watercolor background using some colors from your main image.
- You may also opt for a colored cardstock that complements the colors of your images.

3. Add dimension to your card.
Cardmaking for beginners often entails clean and simple designs. Although taking the “less is more” approach is also applicable to cardmaking, it wouldn’t hurt to add some pizzazz to your handmade cards. Believe it or now, customizing a handmade card by adding dimension wouldn’t take too much of your time. Check out some quick tips on how to achieve a 3D look on your cards.- Utilize foam tape squares and dots: Foam tapes are must-haves in a cardmaker’s crafting stash. Like paper and cardstock, this is a basic necessity in cardmaking. Popping up your image using foam squares or dots will add that instant “wow” factor to your handmade card.

- Invest in layering dies: While there’s nothing wrong with simply stamped images (especially if you’re using high-quality and unique stamp sets), making use of layering dies is a quick and easy way to add that much-needed dimension to your handmade card.

- Emboss it like a boss: Embossing powders are very handy to have when it comes to cardmaking. These add a little shine and shimmer to images and sentiments. It can also bring some dimension and texture to simple stamped images!
4. Create cards in bulk

The beauty of cardmaking is that you can customize your handmade cards for any occasion or celebration. You can also personalize them to fit someone’s personality or favorites. Nothing beats that heartwarming feeling of receiving a personalized handmade card! However, as a cardmaker, you might find yourself pressed for time, especially if you’re making customized holiday cards, birthday cards, get well soon cards, etc. for everyone you know. Let’s face it, creating in bulk is a quick, easy, and efficient way to make handmade cards. Here are some cardmaking tips on how to easily make batches of cards:- Choose either a plain white or colored cardstock. Make sure whatever color you choose would go well with the ink/s you’re using.
- Pick an image that can be used for several occasions. For instance, a cake stamp can be used for birthdays, anniversaries, weddings, etc. Floral stamps are also timeless and very versatile.
- You can stamp the image/s on your cards quickly with the help of a stamping tool.
- Make sure you have the right sentiments! The best thing about creating cards in bulk is you can just grab a card from your stash, stamp a sentiment onto it, and you’re good to go.
5. Inspiration is everywhere!
The best tip when it comes to cardmaking for beginners is to never stop looking for inspiration. If you’re into reading, there are a ton of blogs out there where you can get step-by-step instructions on how to make handmade cards.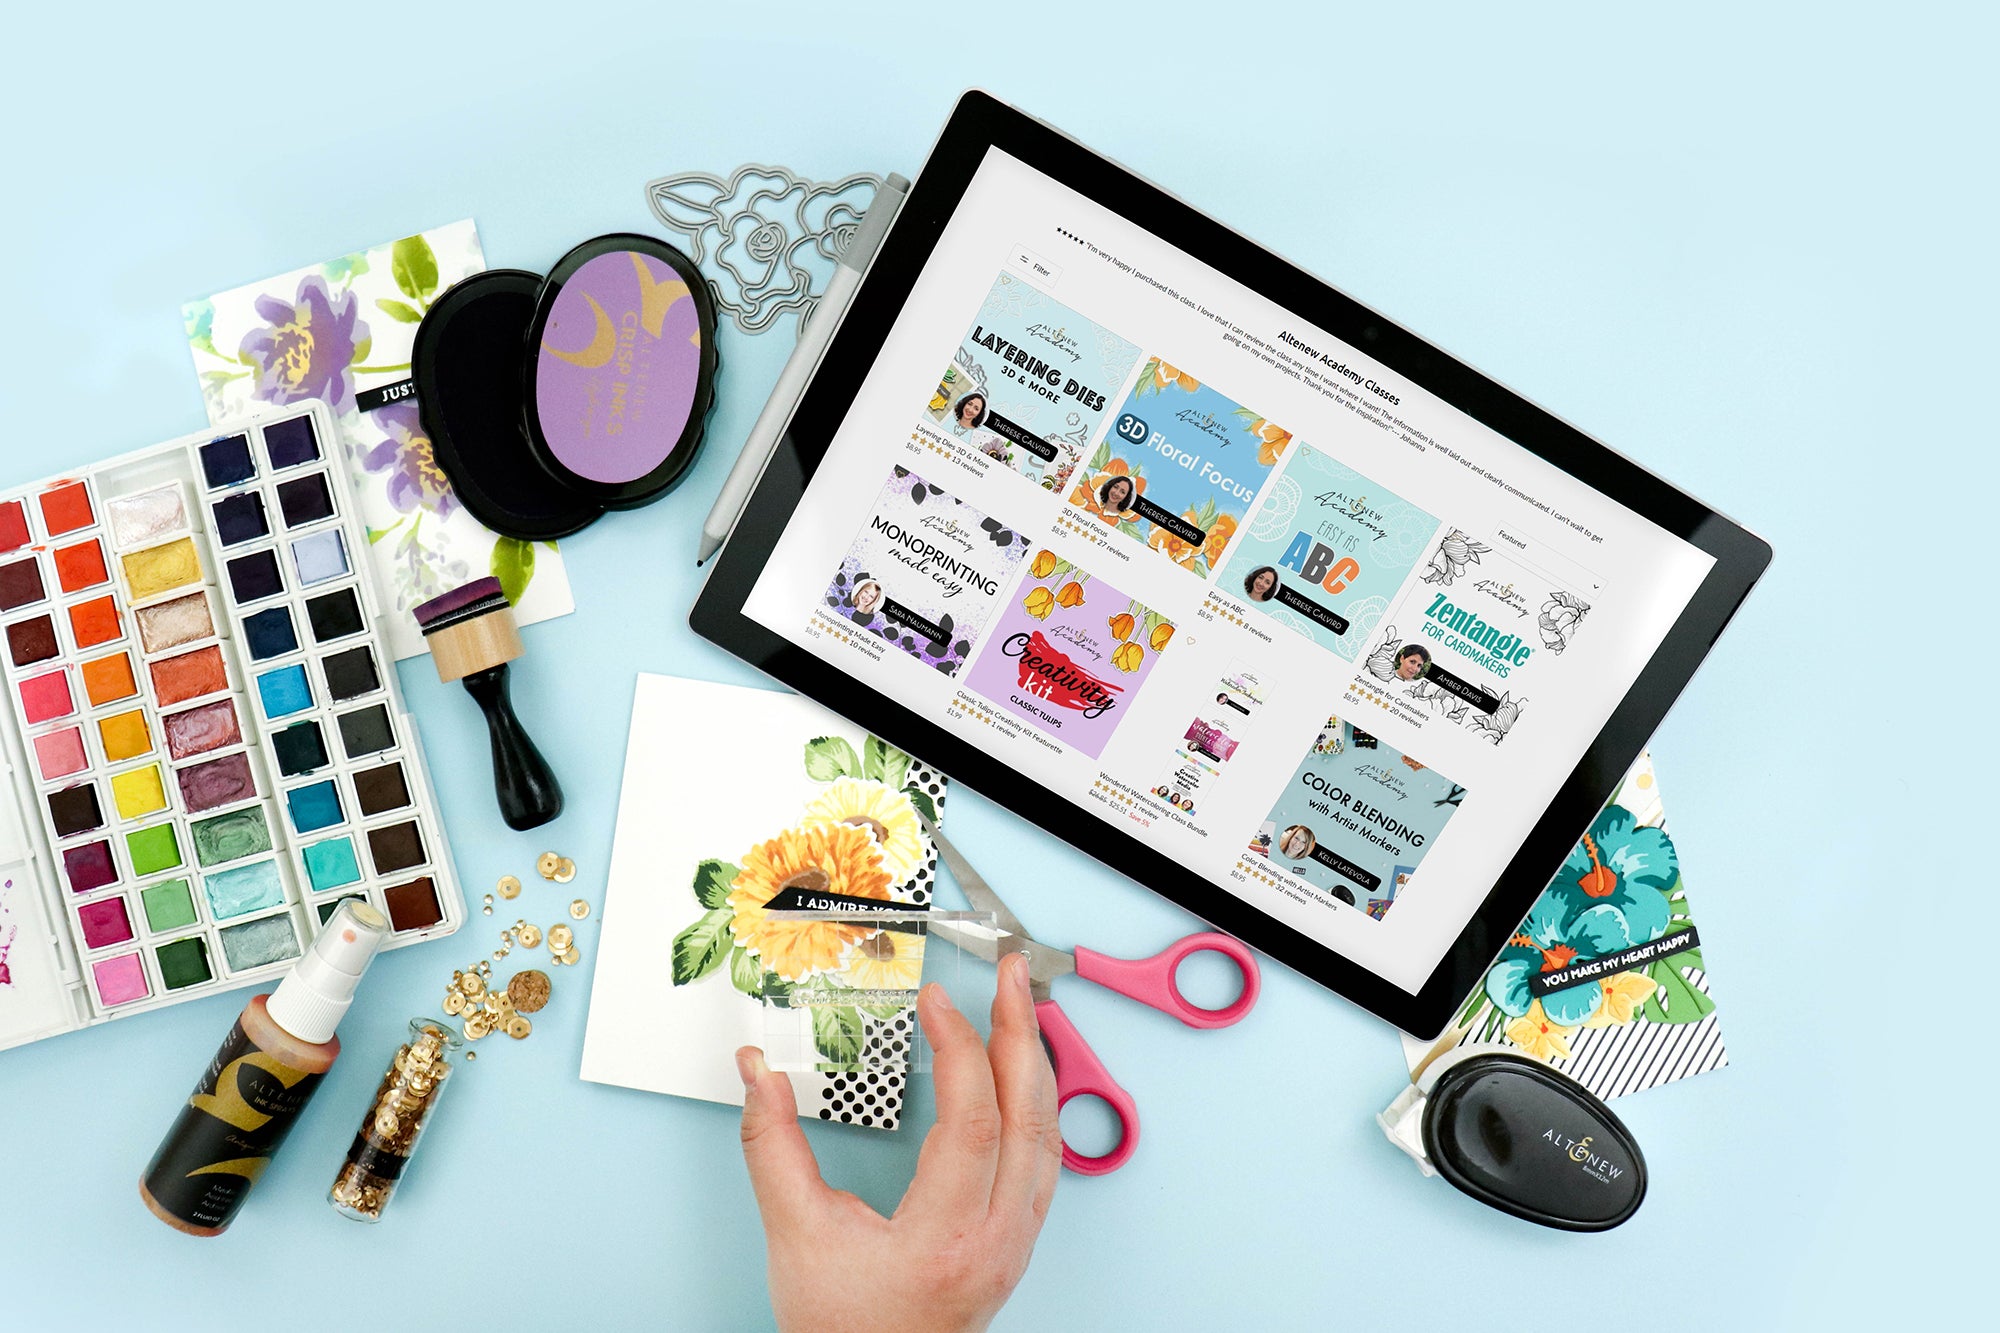
Altenew has an excellent cardmaking blog that provides daily cardmaking inspiration by its incredible card design team. For those who enjoy something more visual, Instagram and Pinterest are chock-full of wonderful cardmaking ideas. There are also YouTube channels dedicated to filming the cardmaking process, including behind-the-scenes and other cardmaking hacks.
Cardmaking isn’t rocket science - anyone can do it! Just like any other hobby, you just need to have the necessary tools, learn the basics, and find inspiration. You will learn more techniques and hacks along the way, but the cardmaking tips and tricks mentioned in this blog will always come in handy in your cardmaking journey. Happy crafting!


Rosary, don’t be disheartened. Just like Yoli and Pamela, you CAN share your cards with your loved ones, family members, or any people you meet. People do appreciate receiving cards. It’s such a kind gesture, and it tells the person, “Hey, I hope you’re having a great day!” :)
Pamela, thank you for being an awesome person by sharing your crafts with the world! :D Totally agree with you, giving cards to someone is more fulfilling than a text or an email.
Rosary, It’s true people don’t send as much mail these days but it is nice to include a card with a gift. It also helps to have a get well or sympathy card on hand so you aren’t having to remember to pick one out at the store. I always take a few thank you cards when we travel. At a hotel I leave my tip for the housekeeper in a card I leave blank so she can reuse the card and envelope. On a cruise I give a thank you card to crew members who gave great service. I also give sets of cards to friends. Everyone has loved being given free cards to send out. Cards are so much more personal than a text or email.
I make cards all the time, whenever I get a new die set I make several of the same cards, but with different colors, then I have a stash ready to go for any occasions. I send cards to friends and family just to say “Hi”, to let them know I am thinking of them…they all appreciate it and I am glad to make someone feel happy as a receiver of my handmade card!
It’s fun to make cards with leftover bits. I work on them when camping. I have boxes to take along: box1 has punches, scissors, rubber cement, etc. Box 2 has items for holidays. Box 3 has papers, and box 4 has cards to do or in progress. I mail mine so I work mostly in 2 D. Thanks for the tips.
Leave a comment