10 Stamping Mistakes and How to Avoid Them!

Let’s face it. We have all made stamping mistakes while crafting, whether it be smudging the ink or not getting a clean and crisp impression. If you have been using clear stamps for your papercrafts, then you know how frustrating it can be when your stamped images don't turn out the way you wanted them to. Don't worry; we’re here to help! We will share some tips and hacks on how to avoid those pesky mistakes in this blog post. Keep reading to learn more!

Stamping mistakes using clear stamps
How do you stamp perfectly?
If you're into stamping, then you know that even the slightest stamping mistakes can ruin your whole project. If you want to stamp perfectly on your card, scrapbook, or journal page, there are a few aspects to consider.
1- Paper or cardstock quality. Your stamps and inks are only as good as the surface you’re stamping on. Use high-quality, smooth cardstock with a high GSM to get clean and crisp stamped images.
2- Ink. Even the best clear stamps out there won’t stamp perfectly if you’re using cheap and low-quality inks. You also need to consider the type of ink you’re using since inks react differently with various surfaces. Applying too much or too little ink on your stamp will also affect the quality of the image.
3- Pressure. It’s essential to be light-handed when you do your stamping. To stamp perfectly, apply light and even pressure onto your acrylic stamping block. If you press too hard on the block, you might get a messy or blotchy imprint.
PRO TIP from Debby Hughes! Stamp multiples of the same image, so you’ve got some backup in case of an ink smudge or blotchy results. The less-than-perfect versions can be used to die cut from, as a partial background, or on a DIY tag!

How do you stop stamps from smudging?
To avoid clear stamps from smudging, it is vital to know the inks and paper you’re using. Most stamp ink pads are either dye-based or pigment-based. Dye-based ink pads are commonly used for stamping because of their quick drying time, so you don’t need to worry about smudges. Pigment-based ink pads, on the other hand, have a slow drying time and are therefore prone to smudging. The solution is to dry the ink with some heat tool or air dry it.
One of the most common stamping mistakes that often lead to smudging is rocking the stamp block from side to side. Doing this is a recipe for disaster!
Learn more about clear stamps in this quick read!

Layering floral stamps and dies from Altenew
Common Stamping Mistakes You Need to Avoid
Nothing ruins a handmade card quicker than smudged, unclear, or blotchy stamped images. But don't despair; with a bit of practice and the right supplies, you can achieve perfectly stamped images every time. Here are some common mistakes beginner stampers often make.

Clear acrylic block set for stamping
1- Rocking the stamp block from side to side. This is a big no-no!
2- Putting too much ink on the stamp. You can always add more ink, but it will be challenging to remove the ink once it’s on the stamp.
3- Adding too much pressure when stamping.

Stamp conditioning eraser for clear stamps
4- Not conditioning the stamps before using them.
TIP! A stamp conditioning rubber eraser is an excellent investment for paper crafters. An eraser can smooth out the clear stamp’s surface and remove the stickiness, preparing it for the ink.
5- Not cleaning stamps right away. Stamping is fun, but cleaning up the mess afterward isn’t. But we all have to do it to ensure the longevity of clear stamps.
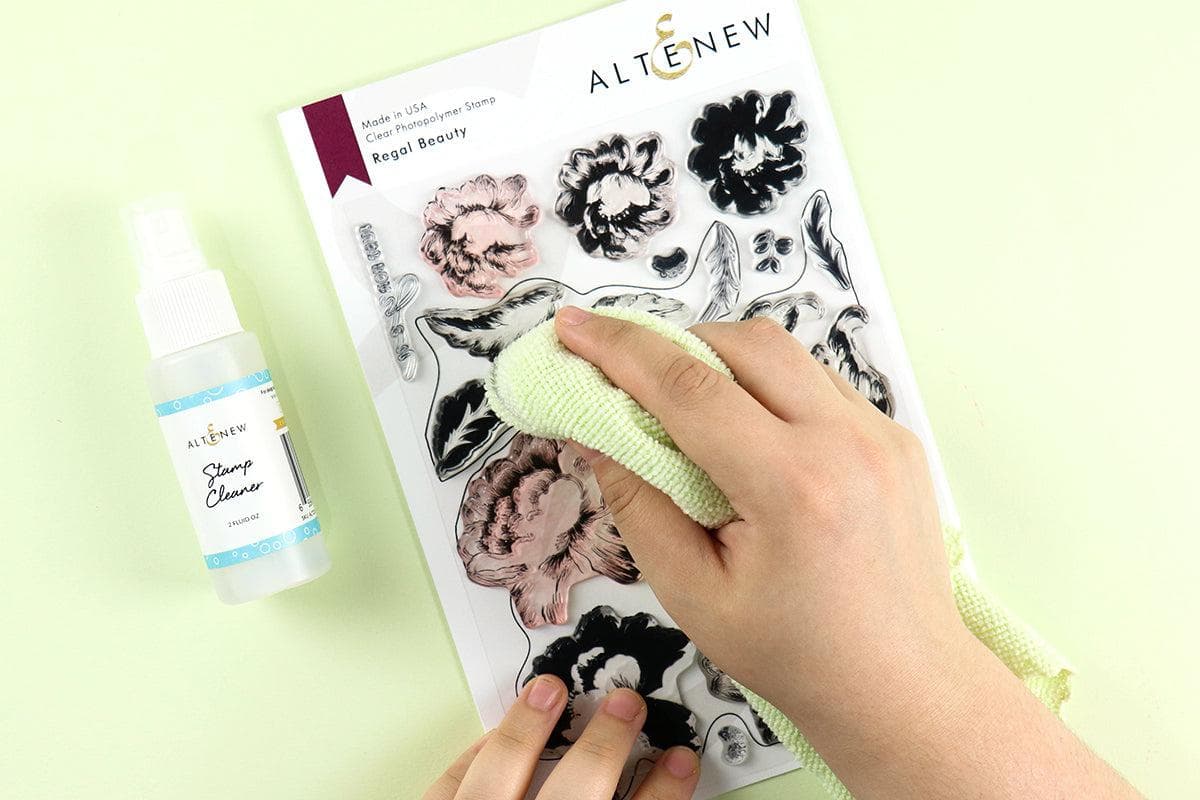
Stamp cleaner for clear stamps
6- Not letting the ink dry before touching the paper or cardstock.
7- Inky fingers! Ink transfer through inky fingers is the bane of a card maker’s existence. It’s one of the most common stamping mistakes. Here’s a TIP! Use a sand eraser to remove smudge marks. It might take a while to come off, so just be patient.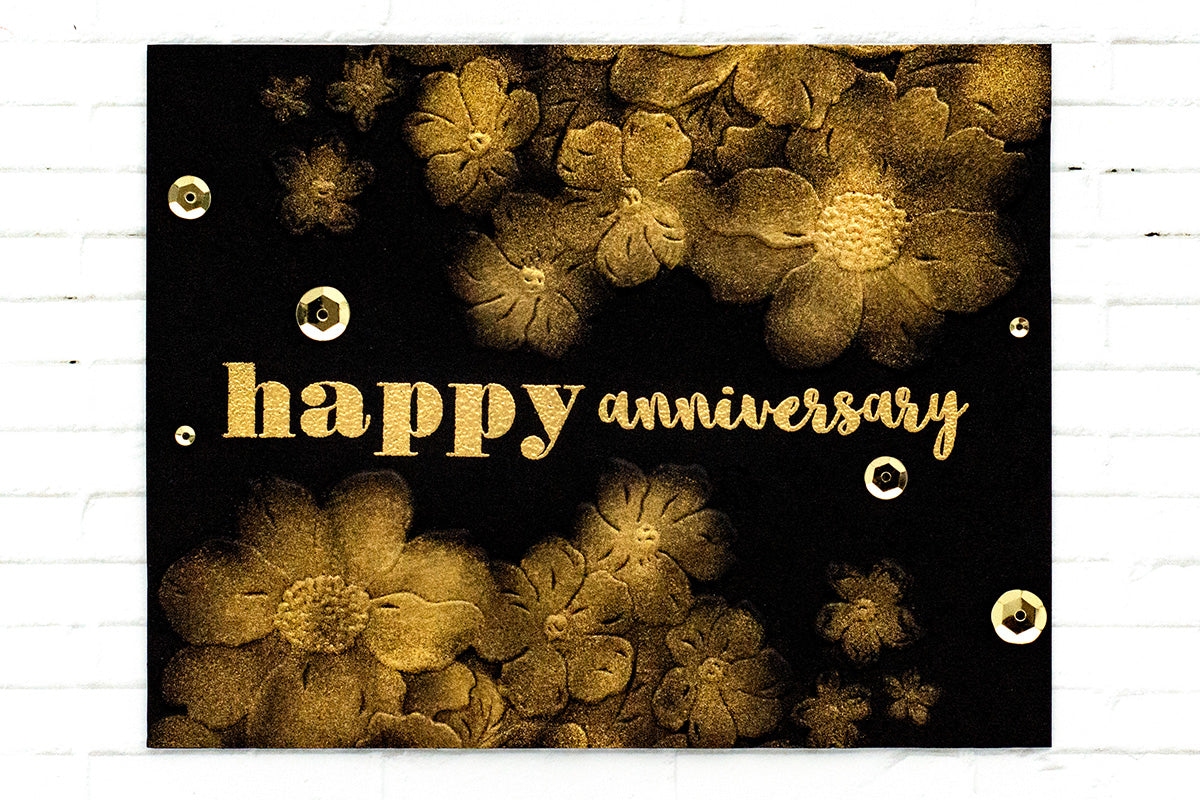
8- Not using an anti-static tool. Always prepare your surface with an embossing bag or anti-static tool. The oils in our fingers can transfer quickly onto the paper. This will cause an issue when you do heat embossing techniques because the embossing powder will cling onto these “oils.”

Stamping on a card using clear stamps and inks
9- Not knowing enough about the inks’ properties! It’s vital to know whether or not your chosen ink will work well with your desired surface. For instance, glossy paper and Yupo paper are both non-porous surfaces, so don’t use dye inks on these! No matter how long you wait, dye inks won’t dry and will most probably smudge on non-porous surfaces.

MISTI - tool to avoid stamping mistakes
10- Not investing in a good stamping tool. Are you having trouble with crooked stamping? Didn’t put enough ink on your clear stamps? Or are you constantly dropping your stamp block (with inked stamps!) onto your cardstock? It’s time for you to invest in a MISTI. There’s a reason why even expert paper crafters and card makers out there swear by this tool. It is INDEED the Most Incredible Stamping Tool Invented.
PRO TIP! Can’t get rid of those ink smudges? Add a sequin, an enamel dot, a sentiment strip, or ink spray splatters around the area where the smudge is. Nobody would ever know it was even there.
Everyone has made stamping mistakes while creating their handmade projects. We understand the frustration when your stamped images don't turn out perfectly. It is crucial to learn from these mistakes and keep on honing your skills. So we hope the tips and hacks we’ve shared here help you achieve your stamping goals! With a little practice and a lot of patience, you'll be churning out crisp and clean stamped images in no time. Read more about stamping and clear stamps HERE.
28 Comments
Hello, Teri! Thank you for sharing your experience. We couldn’t agree more! Learning from our and other crafters’ “mistakes” is important to improve. :)
I learned from my mistakes a long time ago, before there were articles like this. I ruined almost all of my Christmas cards one year using a dye ink that I did not allow enough time to dry. Uneven stamping became a problem, and in order to restamp in the same place my misti has become irreplaceable! We learn as we go, and articles like this help at every turn. There is alway something new to learn whether it be new techniques or how to fix a problem. I love the challenge.
Hello, Jan! Haha! Don’t worry, you’re not alone. We’ve all been there! :)
Is there an Award for having done all of the no-no’s? Just asking…for a friend😜
Thank you for sharing these tips!
Hi Jennifer! Glad you found these tips helpful even as a seasoned stamper! :) Thanks for dropping by!
Great tips, and as a seasoned stamper I thought I’d heard it all, but I did learn something new thanks so much!!
Thank you so much, Bea! We’re happy you found these tips helpful. Happy crafting! :)
Thanks for the great tips. Some I knew but others, thanks to you, will help with my cardmaking. Very imformative!!
Thanks for the help on learning how to be a better crafter thank you
Leave a Reply